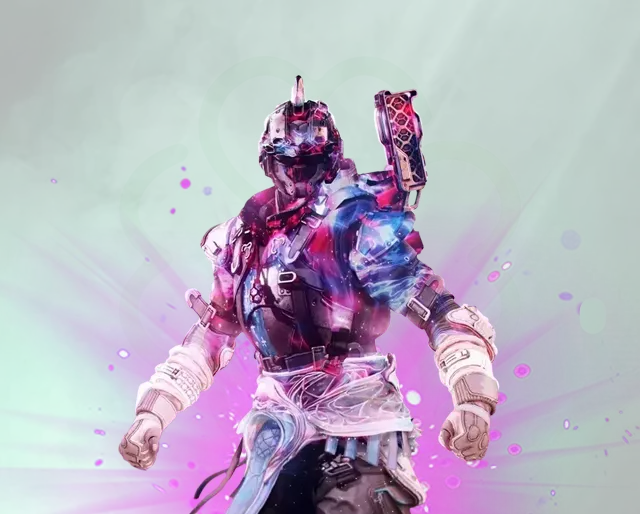
The Edge of Fate DLC brought major adjustments to class balance and abilities. But right now, Warlock stands supreme as the most versatile...
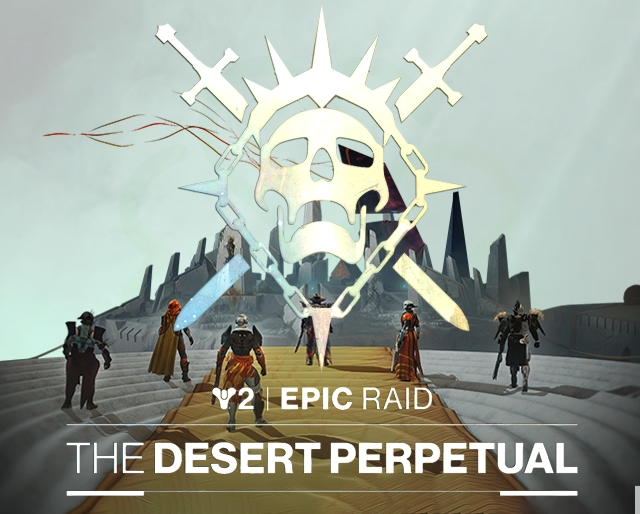
The Desert Perpetual is the first raid of the Edge of Fate expansion in Destiny 2. It takes place on Kepler, in a strange zone tied to the Nine. The first thing to point out is that the encounters are nonlinear, meaning there is no official first, second, or third encounter. You can take them on in whatever order you choose. It gives your team the freedom and opportunity to learn all the mechanics in the way you wish.
Below you’ll find a detailed breakdown of each encounter, its mechanics, and secret chests you can loot throughout a run.
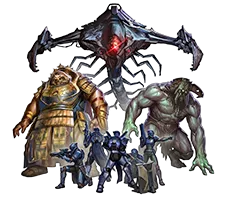
After the opening climb and some early trash mobs, you arrive at a massive hub with a giant purple platform in the center. Three half‑spheres surround it, each linked to one of the main bosses:
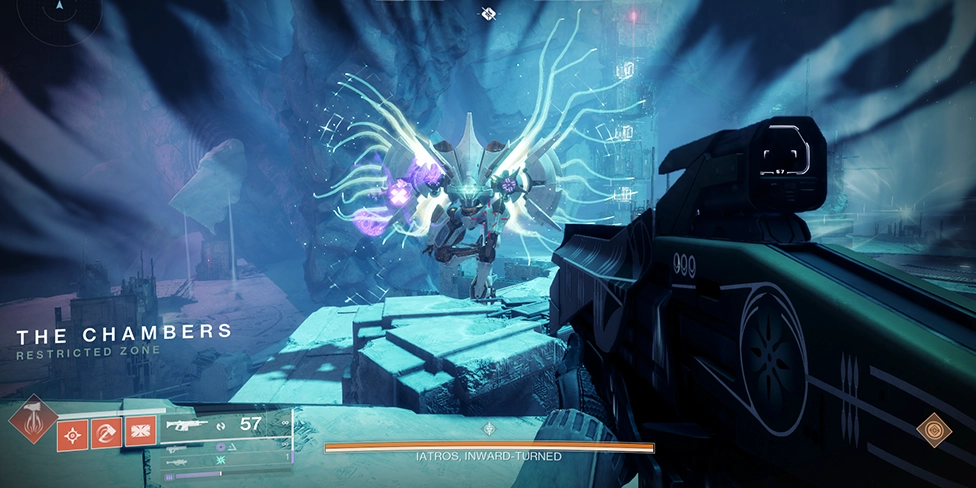
Fight a Vex Wyvern boss, in a small arena with a climbing mechanic and a tight timer. Mess up, and the clock runs out faster, leading to a wipe.
Hourglass Management
Six Minotaurs spawn around the arena. Killing each drop Chronons. Pick them up and run through the purple ring in the middle to extend the hourglass timer. If time runs out, that’s a wipe.
Building Platforms
Three tall pillars surround the arena, each with three Vex cubes positioned vertically. Assign three players as Breakers (one per pillar) and one as Climber.
After a sufficient number of Chronons, each player gains stacks of Diastole. At 4 stacks, the Breakers shoot the bottom boxes at the same time, spawning the first set of platforms.The Climber ascends and grabs a floating white cube.
Breakers then shoot middle boxes, then top, repeating the process to create higher platforms.
Add Control and Time
While Breakers and Climber work, the remaining two players keep killing Minotaurs and dunking Chronons to get more time.
DPS Phase
After collecting all three cubes, Iatros becomes vulnerable. Everyone groups up on the boss and unloads DPS. Runners keep dunking Chronons to extend the phase. Repeat as many times as needed to kill the boss and finish the encounter.
For DPS – Thunderlord is still a great choice while stacking Bolt Charges. It may be hard to hit the crit of wyvern with single-shot weapons, so be careful.

Battle Agraios in a wide arena with six portals and alignment mechanics. Coordinate buffs and portal charges to survive the timer and defeat the sniper boss.
Charging Portals
Clear waves, then kill a Hydra to spawn Minotaurs at the front end of the arena. They drop Chronons to charge five portals in the center. Runners grab them and pass through each portal until all five are active.
Buff Alignment
Three players stand on central plates simultaneously to gain buffs: Absolute, Cyclical, and Constant. Look to the huge sniper Hobgoblins around the arena — their names reveal which buff should Align at their pillar.
Coordinated Charging
The two remaining buffed players check the side lights on portals. Two will glow blue. Non‑buffed teammates continue collecting Chronons and depositing into those specific portals. Once portals are ready, one runner goes through all of them in sequence to charge a grenade.
Detain and DPS
The grenade blocks the sniper boss’s kill shot, forcing Agraios to spawn in the middle. Everyone bursts DPS. A new grenade can extend the phase up to three times. Be careful — wyverns spawn during this phase. And the best way to deal with them is to wait for wyverns to approach you to kill them simultaneously.
For DPS – Thunderlords, Sleeper Simulants, Golden Guns.

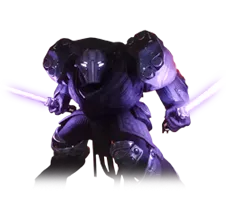
Face Epoptes, a Hydra with rotating shields, in an arena requiring multi-room coordination. Sync buffs and callouts across rooms to break the shields and start DPS.
Opening and Buff Plates
Enter the arena and clear waves of Vex until two yellow‑bar Cyclopses (Time’s Magistrates) spawn. Killing each spawns a glowing plate that grants Constant Temporality when two players stand on it at the same time. Those two players head into side rooms; a third teammate goes with each for add clear.
Eye Callouts
Inside each side room is a Hydra with a shield of seven eyes (six outer, one center). Above each Hydra floats a hexagon of squares. When the buffed player steps into the light beam, one square glows. Player A in left room and Player B in right room call out their glowing positions (e.g., “bottom left”). Each must shoot the opposite called‑out eye on their Hydra at the same time. Miss the timing and the eye regenerates.
Diamond Phase
Meanwhile, the two players in the main arena take the plate buff and step into the boss’ projector light. A nearby stone pillar features three diamonds on each side. Two of them glow. Call out the one that does not glow.
Side‑room players look up to a triangle of spheres above their Hydra and shoot the correct one based on these calls.
Repeat and Damage
Clear adds, repeat the buff/eye mechanic until all eyes are destroyed. Return to the middle, shoot the glowing center eye on the boss’s shield, and DPS begins. It’s worth considering that this is one of the most mechanically challenging stages in the raid. And in practice, the encounter is many times easier than in theory.
For DPS – we advise Thunderlord under the barriers of Arc Titan with Bolt Charge. Golden Guns with Celestial Hawk are decent on Hunter.

Take on Keregos in a two-phase fight that tests all raid mechanics. Coordinate buffs, solve puzzles, and dodge lasers to bring down the final boss.
Lower Platform Phase
Assign buffs: Constant (left plate), Absolute (middle), Cyclical (right). Constant players shoot turrets on boss arms to stop lethal lasers. Do this repeatedly.
You will need to activate your buffs by picking up white rings across the arena. They spawn each time after stunning the boss. After jumping into that white circle, you get the additional buff “Temporal Oculus”. The best way to gather it is by counting down and jumping together simultaneously, as the supply is limited. After you get the “Temporal Oculus” buff, coordinate:
Call out and destroy the correct active mines to spawn Chronons and dunk them six times. When the hourglass is full, stairs appear. Shoot the crystal below to proceed.
Upper Platform Phase
Climb to the top arena. Four cube pillars form a puzzle. Constant and Cyclical each see two cubes, Absolute sees three. Call overlaps and interact with correct cubes four times. The boss’s shields drop, revealing glowing eyes as crit spots. DPS begins. Dunk more Chronons in the ring mid‑DPS to extend the phase. Avoid white tracking lasers during DPS. Repeat both phases until Keregos falls. In final stand, the crit spot rotates upward, so aim supers like Golden Gun accordingly. Save burst supers for this phase. When the boss’s health is depleted, jump off the platform to avoid death. Thunderlords and Sleeper Simulants are good choices for heavy slot. Lord of Wolves and sniper rifles are decent for a special one. Thundercrash, Golden Gun and Nova Bomb for DPS, Well of Radiance to keep fireteam safe.
Finally, we’re getting closer to the most mysterious and time-consuming part of the raid. Each secret chest contains a random raid gear item that you’ve already unlocked in your collection. You can get a loot from each one only once per week on each character. Also, collecting all three chests completes the triumph in the Atemporal title.
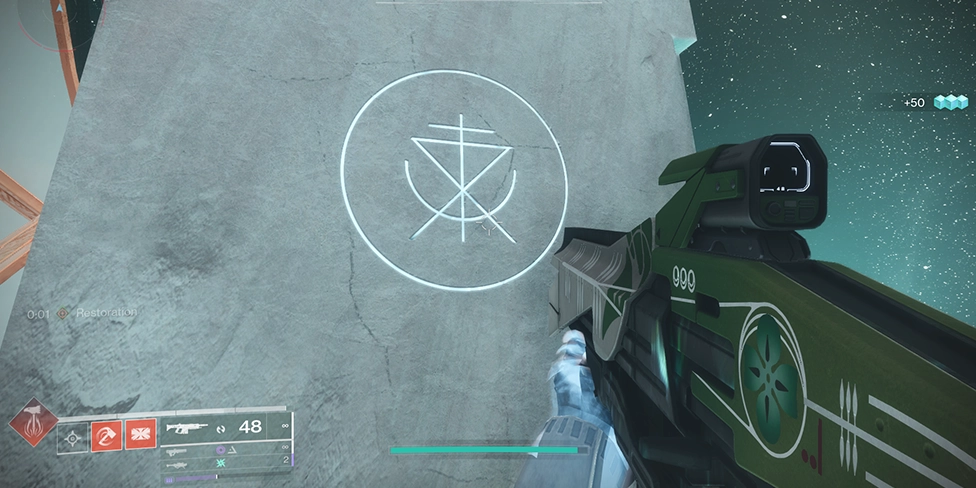
These chests are a nightmare to get, so we strongly recommend to equip a grapple if you’re playing on Strand subclass. Heat Rises on Solar Warlock or Lion Rampants on Titan are also good options. Don’t forget to grab an Eager Edge sword to help you with the jumping puzzles. For each chest, you need to activate four specific symbols after each encounter (completion of encounter is mandatory).
For the Wyvern boss, after defeating it, you’ll face an annoying jumping puzzle with a green rotating orb in the center. As the orb spins, some circles on it display symbols you need to locate in the puzzle area. For example, after exiting the boss door, instead of heading right to the puzzle, go straight down the stairs to find a symbol on the wall. If it glows when you approach and stays glowing when you walk away, it’s one of the required symbols. If it glows but turns off when you leave, it’s not the right one. There’s no penalty for checking wrong symbols, so inspect every one you find. Symbols can be on giant orbs, walls, pillars, or in obscure spots, like behind gold orbs or on a small plate off to the side. When you activate the fourth correct symbol, a message “A whisper on unknown winds wishes its visitors well” appears in chat, signaling the chest has spawned inside the green orb for you to loot.

For the Hobgoblin boss, the chest is in a pink rotating orb off to the left in a long tunnel during the return jumping puzzle. Symbols are scattered in crevices, on walls, and other hard-to-find spots. If you get stuck inside the orb, approach a wall with a symbol to open it. Collect the four symbols, get the in-game message, and the chest spawns in the orb.
The Hydra boss chest is also in a pink rotating orb, but this jumping puzzle is the worst. Good luck — you’ll fall to your death repeatedly. Check every crevice, wall, and obscure spot along the traverse back to the hub, and you’ll find them eventually.
Like any raid in Destiny 2, The Desert Perpetual has its own loot table, which is tied to each individual encounter. So if you’re trying to get a specific item from the raid, we suggest you take a closer look at the table below to see where you can get it from specifically:
| Encounter 1 – Iatros, Inward‑Turned | Encounter 2 – Agraios, Inherent | Encounter 3 – Epoptes, Lord of Quanta | Encounter 4 – Keregos, The Worldline |
|---|---|---|---|
| Antedate (Arc Submachine Gun) | Finite Maybe (Solar Fusion Rifle) | Opaque Hourglass (Arc Combat Bow) | Any Desert Perpetual weapon from previous encounters |
| Lance Ephemeral (Strand Sniper Rifle) | The When and Where (Stasis Rocket Launcher) | Collective Psyche (Armor Set — Class Item) | Any Desert Perpetual armor set piece from previous encounters |
| Intercalary (Stasis Auto Rifle) | Collective Psyche (Armor Set — Chest) | Collective Psyche (Armor Set — Legs) | Whirling Ovation (Exotic Strand Rocket Launcher) |
| Collective Psyche (Armor Set — Legs) | Collective Psyche (Armor Set — Helmet) | Collective Psyche (Armor Set — Arms) | – |
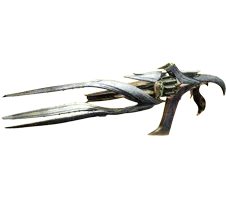
The Desert Perpetual is a fully farmable raid for now, allowing unlimited runs of both individual encounters and full clears for loot. Among the new raid weapons, the standout is a groundbreaking heavy slot crossbow – the first of its kind in the game. It may be an interesting alternative weapon for clearing additional mobs, having Firefly and Dragonfly in the perk pool.
If you wish to try the crossbow or any other weapon from the loot table, check out our D2 Boosting
The Desert Perpetual is a masterclass in raid design — puzzles, captivating mechanics, and heavy DPS checks. Clear communication is your lifeline. Assign roles, practice callouts, and keep calm when mechanics stack up. Once you’ve mastered these steps, the Atemporal title and some of the most exciting loot in Destiny 2 are yours for the taking.