
This PoE 2 campaign guide is designed to help you complete the acts in 4-7 hours. Below is a comprehensive PoE 2 campaign walkthrough covering act milestones, boss mechanics, and key PoE 2 campaign rewards. Without further ado, let’s get started!
Preparation Before Acts
The first and most important part of every PoE 2 campaign walkthrough is to find a build. Heading in a plan is the key to reaching the optimal time and actually having fun playing. LEAGUE STARTING BUILDS are a simple yet effective way to guarantee you a smooth progression straight to the ENDGAME.
There are many guides and videos for every taste, but we recommend using a build that is both cheap to progress and powerful enough to farm T15 maps. If you struggle to find one of those or campaign is not your favorite part of the game, PoE 2 League Starter Builds can help you with that.
Act 1
Once you have reached the tower after completing the tutorial area, the first thing we recommend is that you buy a TALISMAN for werewolf form. Wolf form, combined with Pounce skill, is our best movement in the early game.
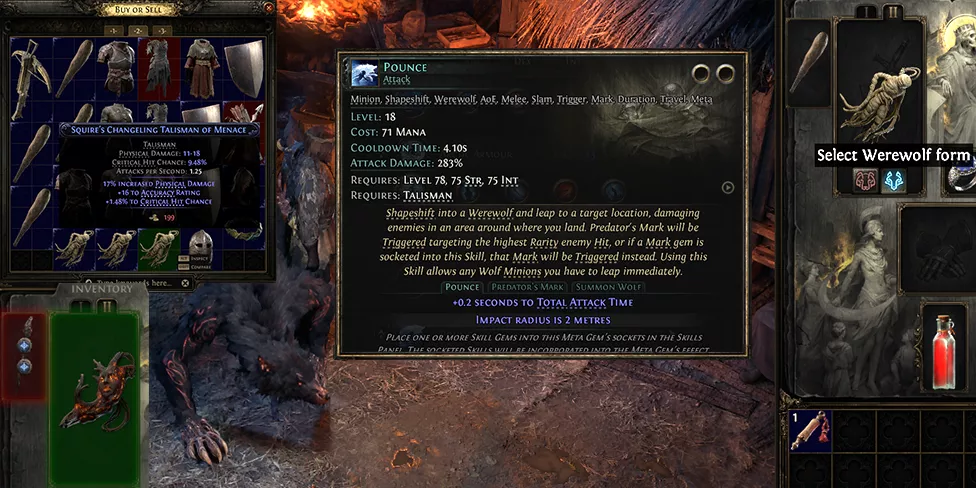
We’re looking for a higher attack speed roll to make Pounce faster. Put it in your second weapon slot.
🍀 CLEARFELL
After entering the CLEARFELL, our first goal is to find a CAMP with a SKILL GEM in it. Then we’re looking for a BEIRA OF THE ROTTEN PACK, which grants us+10% TO COLD RESISTANCE.
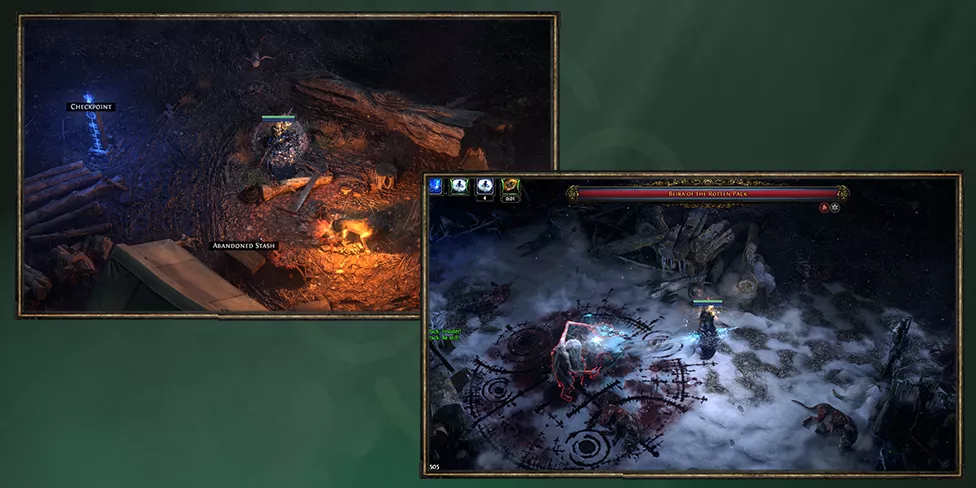
We recommend skipping the Mud Burrow location. It takes too long for small reward.
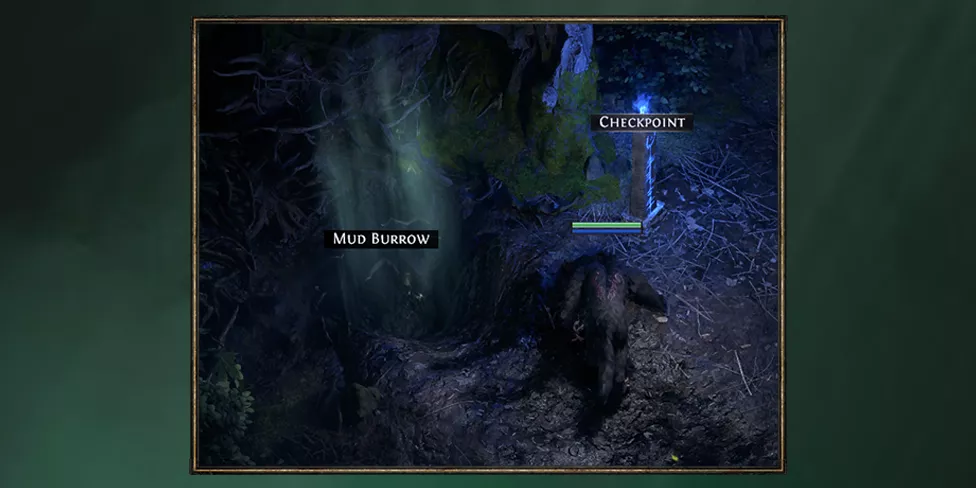
🍀 THE GRELWOOD
In The Grelwood, we’re looking for AREAGNE, FORGOTTEN WITCH. She usually is located near the entrance. The fight might be tough, but the reward is worth it.
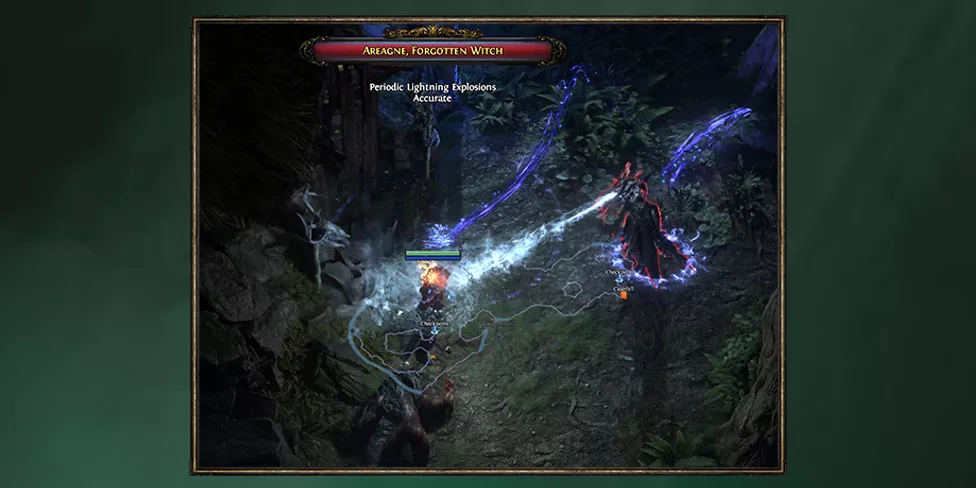
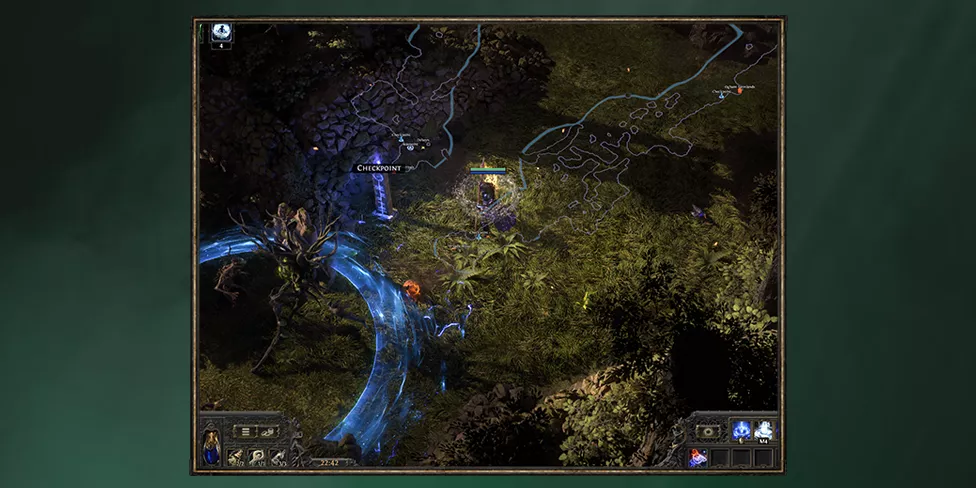
The next step is to find both CHECHPOINTS and the waypoint, before heading to THE RED VALE. It will help us in the future.
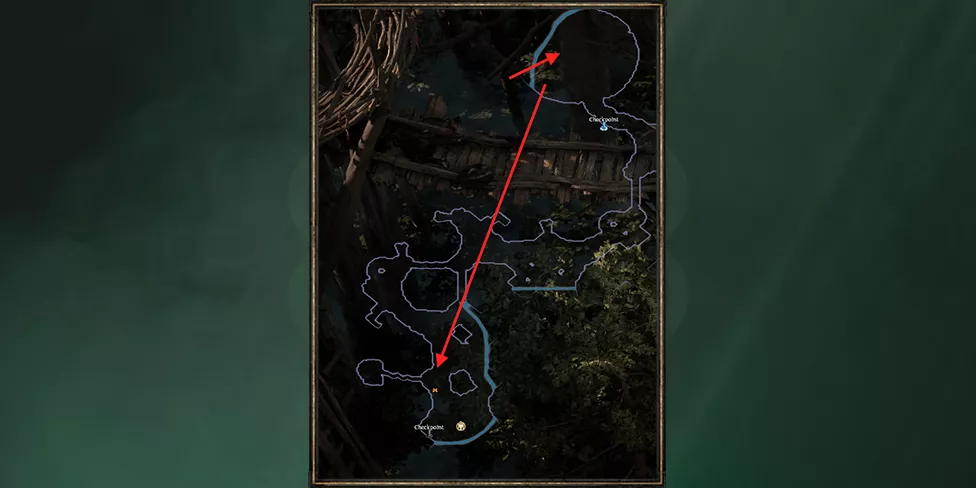
A little tip for quickly finding both waypoint and the entrance to THE GRIM TANGLE – they are always on opposite sides of each other. In our example, we found the waypoint first on the lift side of the map, which means THE GRIM TANGLE is on the right side.
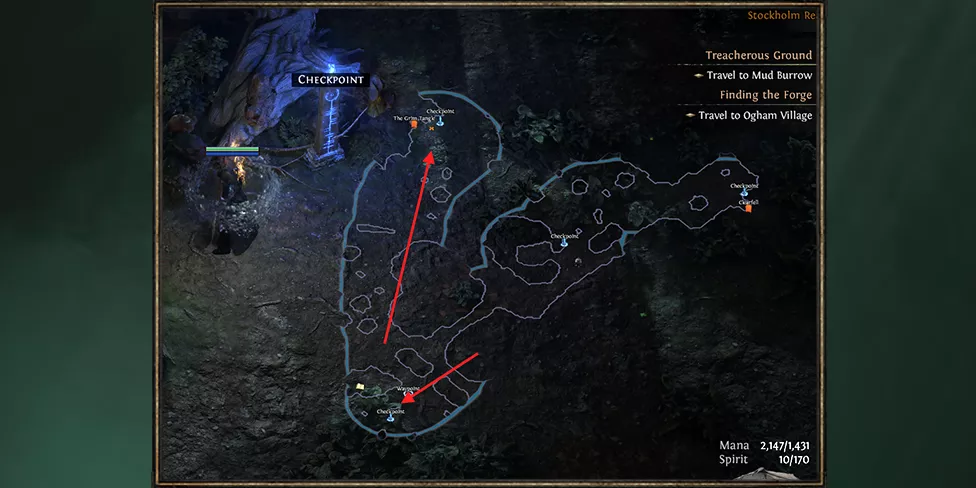
🍀 THE RED VALE
First of all, there are 3 OBELISKS OF RUST. The first two will spawn packs of ANCIENT EZYOMYTES, a mix of ranged and melee monsters, and drop a quest item when they’re all slain. The third one will spawn THE RUST KING, the unique boss of the zone who must be slain for the third quest item to create the spikes to free The Hooded one.
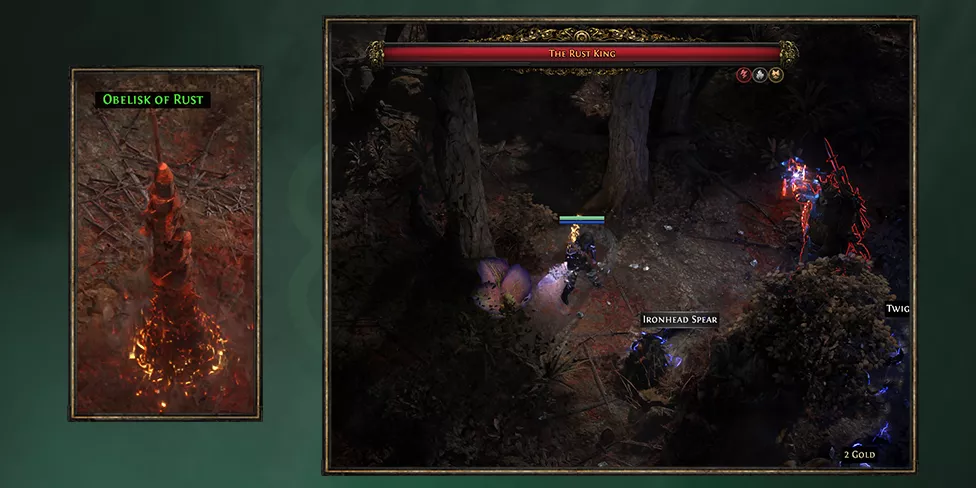
Also, it’s a good location to find a weapon for a Physical DPS build.
After defeating THE RUST KING, open the portal to the town to finish the quest.
Important note:
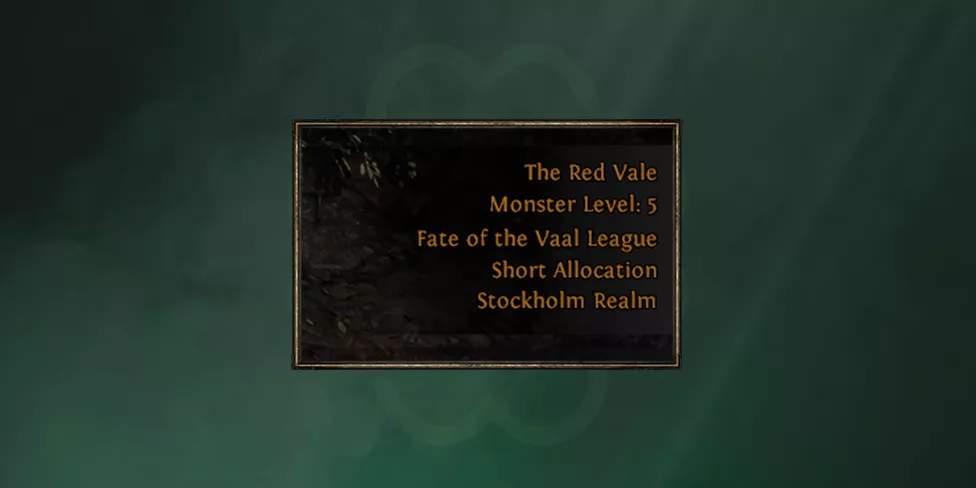
Pay close attention to the Vendors and weapons that you found while roaming. Try to upgrade your weapon as often as possible, so you’d never find yourself in situations with no damage against the boss. Also, your level must be at least -3 from the level of the zone. You shouldn’t farm every white pack you see to reach the zone’s level; being slightly behind is perfectly fine.
You can see the location level by pressing Tab and looking at the top-right corner of the screen.
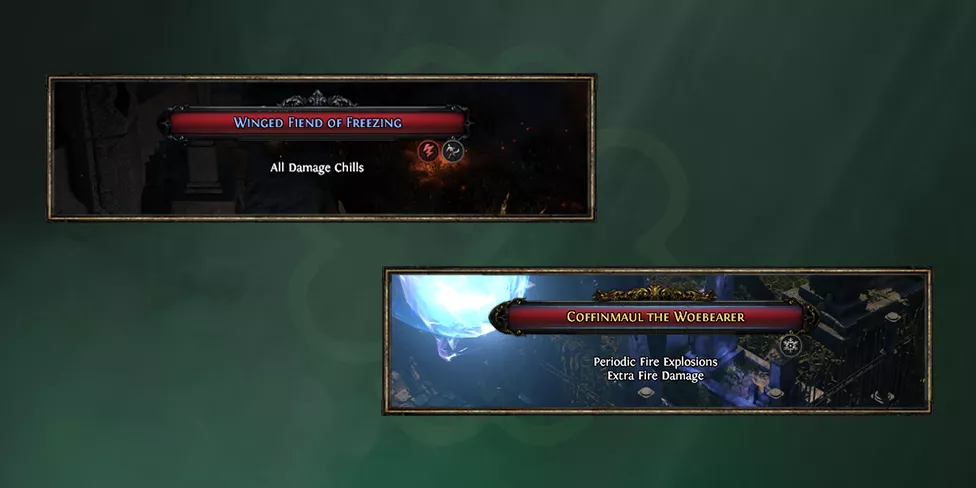
Try looking for MAGIC and RARE packs, it’s okay to take some time to farm those, they give higher amounts of EXP than white mobs. Rares are also good if you’re looking to upgrade your gear.
MAGIC type – mobs with Blue names and minor buffs on them.
RARE type – mobs with Yellow names and with more buffs on them.
⭐ THE GRIM TANGLE
After finishing the quest and using 3 runs in THE GRELWOOD’S WAYPOINT, use the checkpoint to travel to THE GRIM TANGLE. Once you enter the location, use teleport to the town to speak with UNA. Once done, return to the portal and speak with Una again to open the entrance.
There are no important key points here. Just find the ERVIG, ROTTED DRUID for UNCUT SUPPORT GEM.
🍀 CEMETERY OF THE ETERNALS
There you could find the guaranteed ring chest. Try scouting the edge of the location first, to find both: one of the TOMB
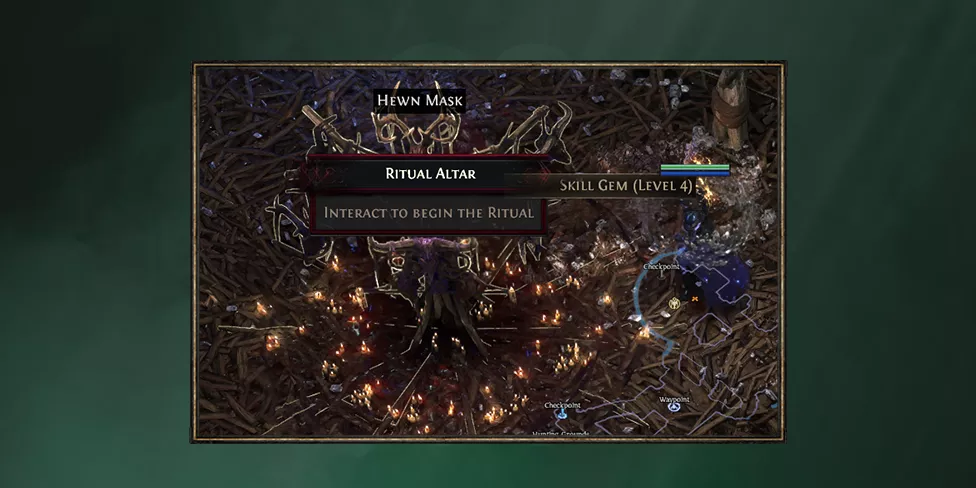
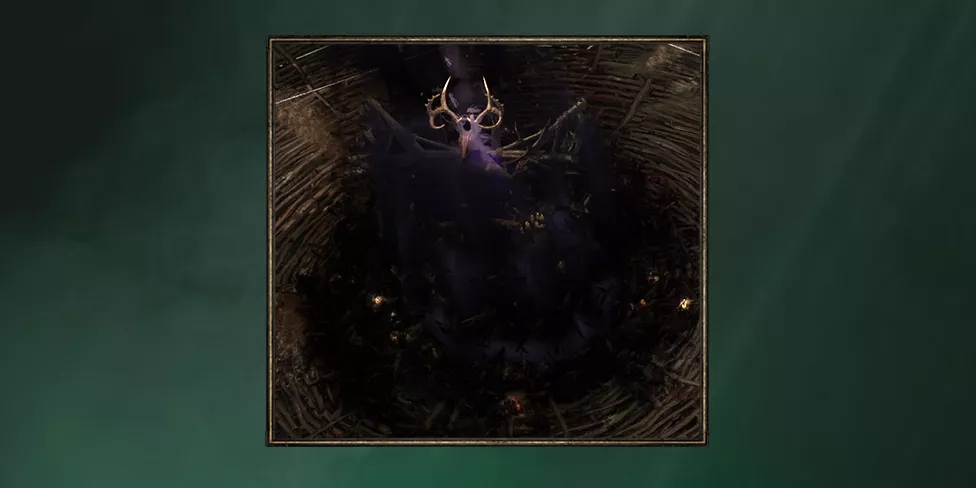
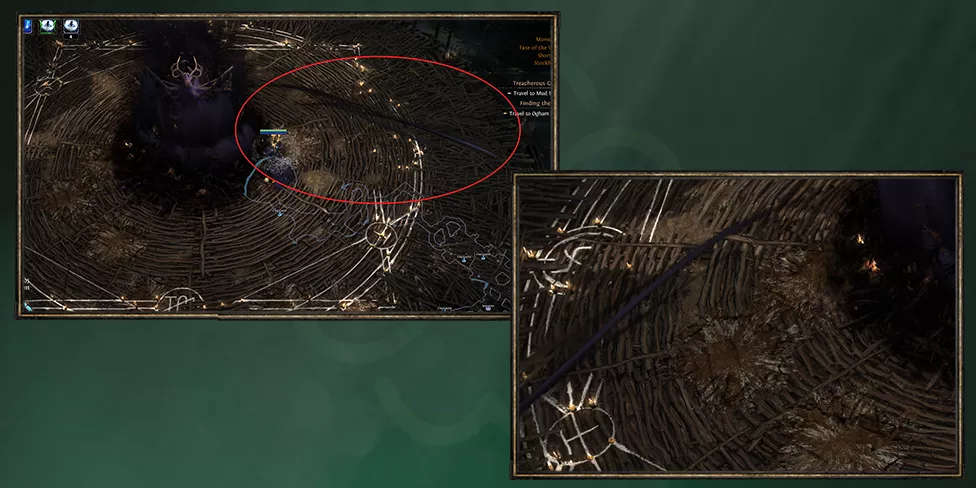
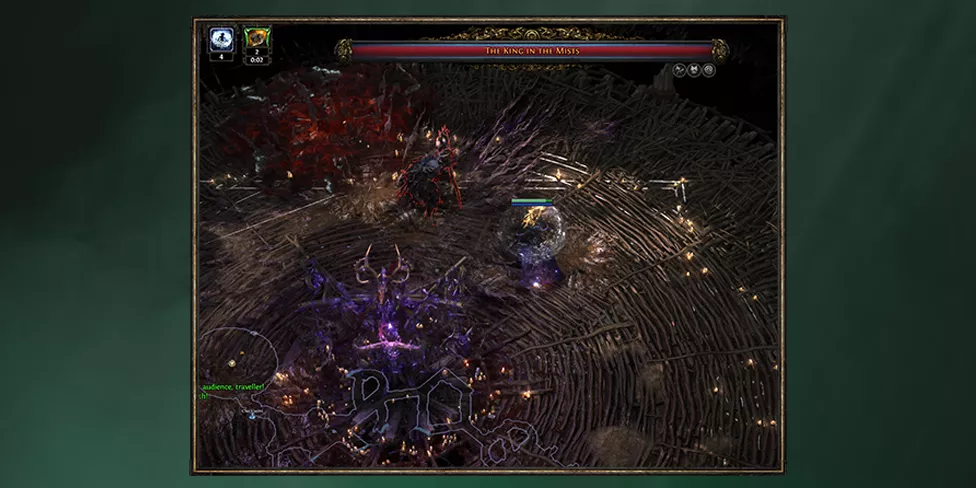
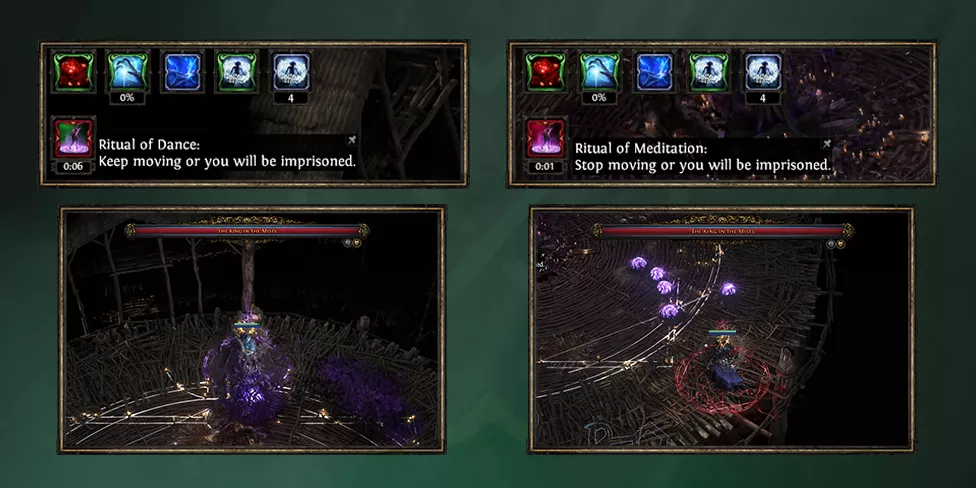
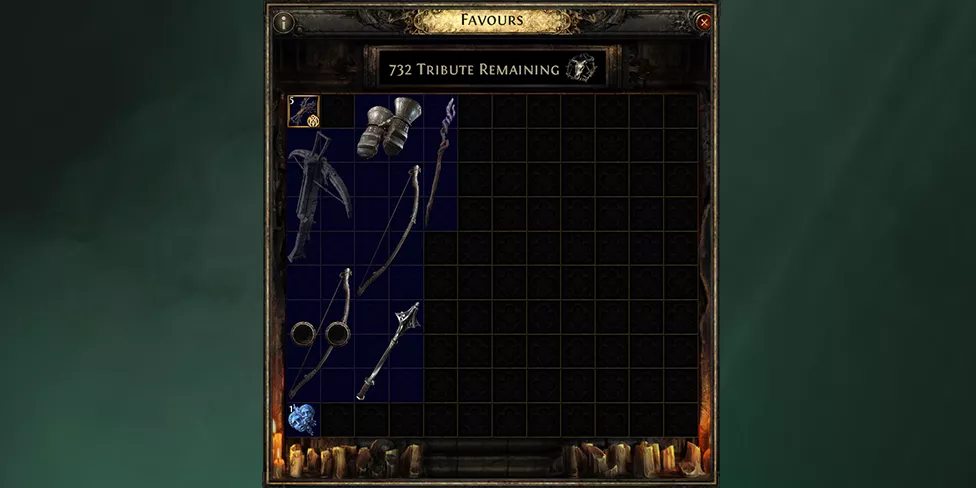
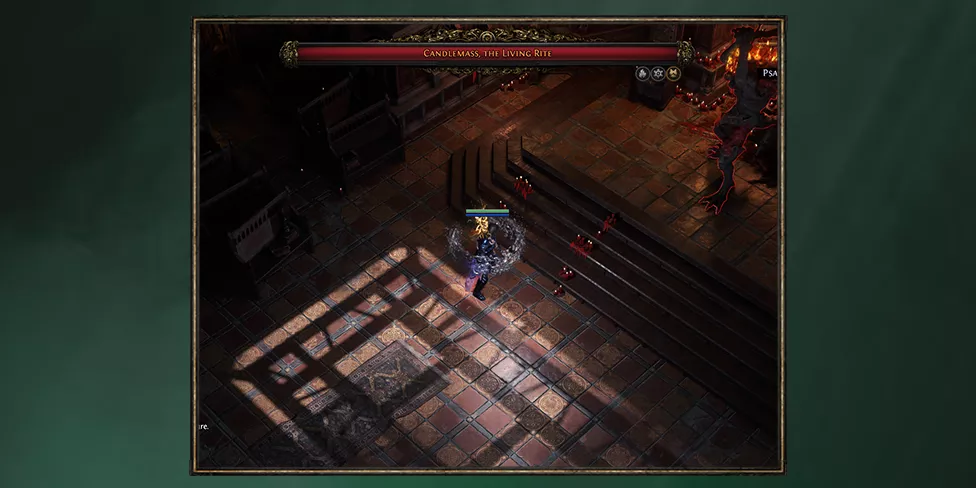
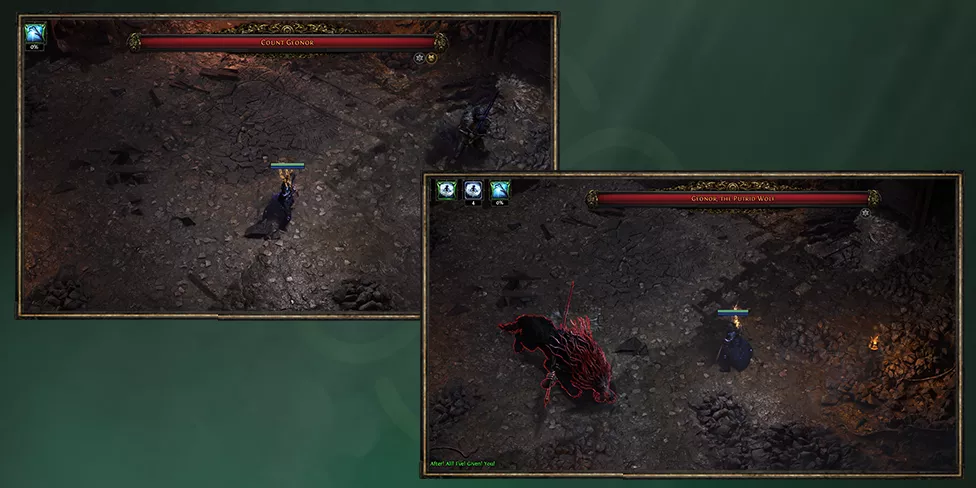
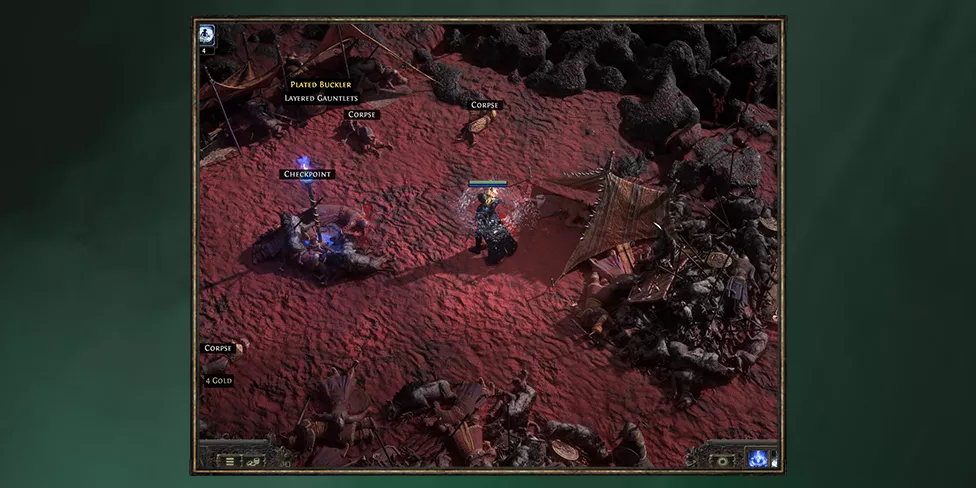
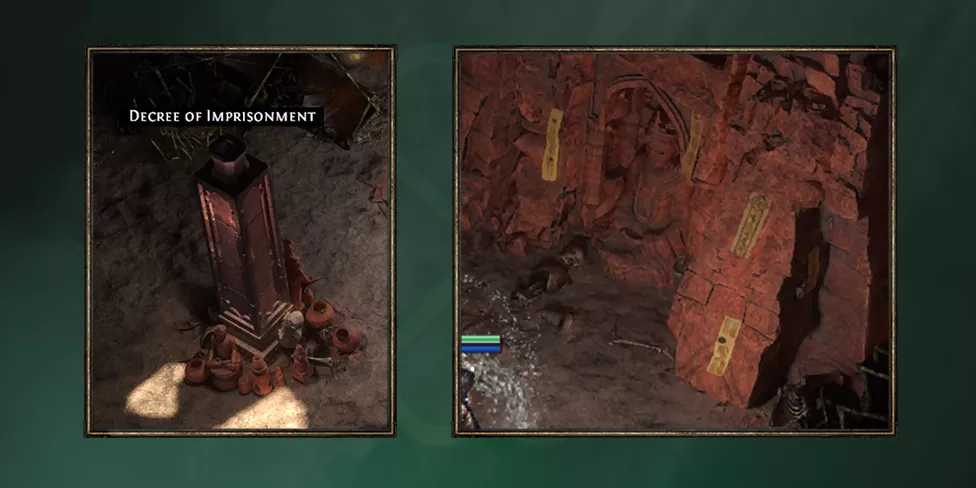
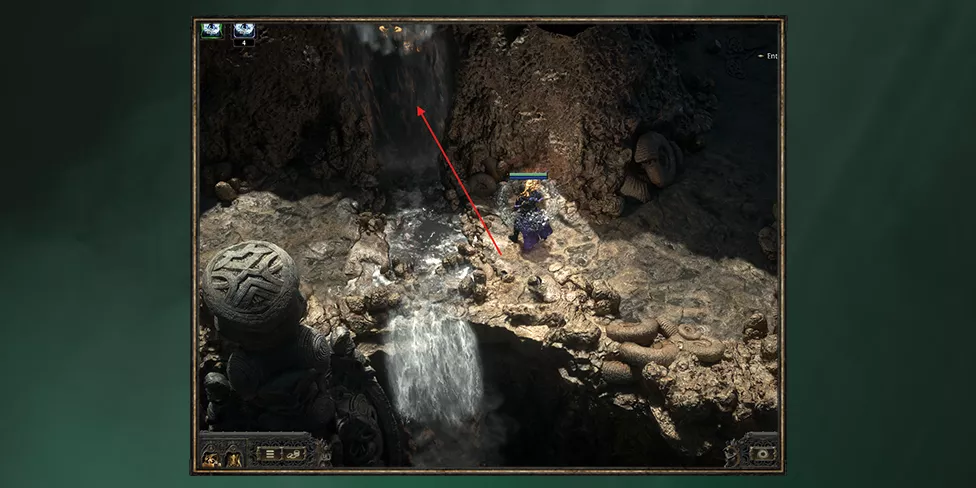
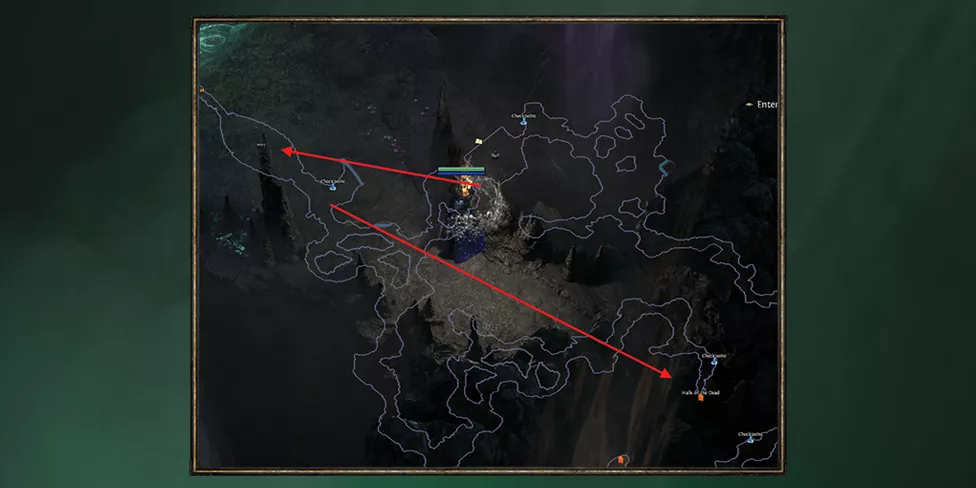
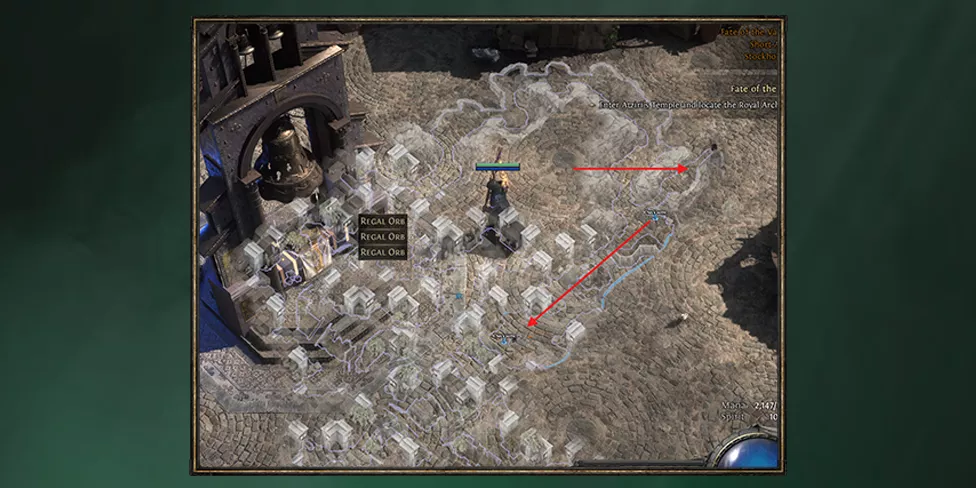
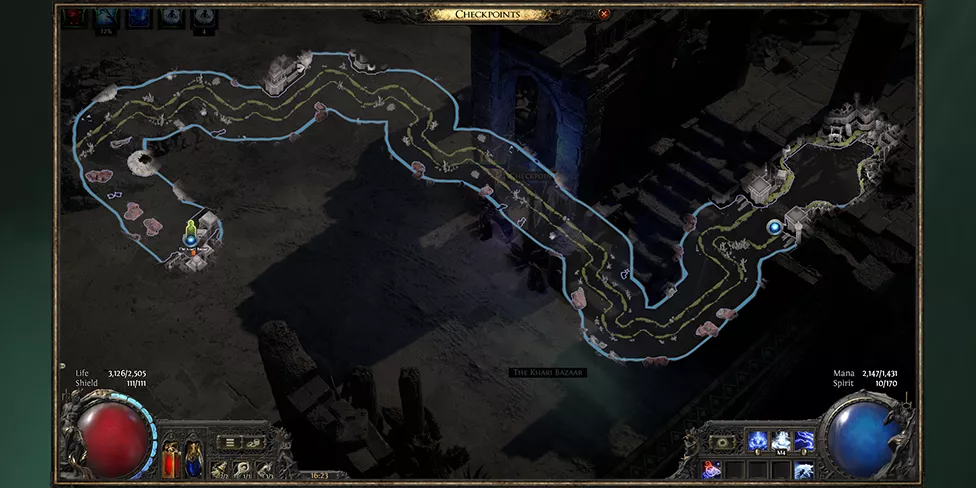
Here we’re looking for the HAUNTED TREASURE for guaranteed RARE GEAR and SUPPORT GEM. Be careful though – the rare knight could be a tough opponent, especially for mage classes. Then just locate the boss. She should be not too far from Treasure. Nothing too special here, she has tons of AoE, but it’s all easy to dodge. Whichever you decide to kill first will appear in the second arena. The boss will not be targetable, but will cast the abilities from time to time. There are no key points here, just find and kill the Boss. A little tip to quickly locate THE BOSS ARENA – once you enter the area, hug the walls, and look closely at the map. It should take no time to locate The Arena and find the entrance. The boss is also no big deal here. But do be prepared for extra AoE from the witch if you decide to kill him as the second. Once both bosses are dead, return to the waypoint and open the gate. If you wanna skip a long monologue, respawn at the checkpoint right after you open the gates. A little risky tip for beefy melee builds, you could stand right between the boss’s legs. That way, you will tank only half of the damage, and force the boss to spam only melee attacks. A little PoE 2 campaign speedrun guide note – if you wanted to skip yet another long monologue, do not pick up the quest item. The only downside is – the Hooded One will not appear in the Town. But he will appear in Act 2. There are 2 points of interest: There are also two entrances to the next zones. Find both checkpoints before heading to the boss. Hug the edges of the map to easily find both checkpoints and the boss. The Support Gem should be near the entrance. Once we finish the boss, use checkpoints to the Freythorn. Unfortunately, there is no stable way to locate all 3 of the Rituals to summon the Final Boss. We’re looking for these totems. If you find the totem that looks like this. It means that you found the Boss Arena. Grab the checkpoint and continue looking for the rest of the Rituals. There is a little trick that will help you to find the general location of the rest of the Rituals. Pay close attention to dark beams, stretching from the Main Totem from time to time. Following that trajectory will lead you to the uncleared Rituals. The Boss here is THE KING IN THE MISTS. THE FIRST PHASE doesn’t bring any core mechanics. So just damage him until the transition. SECOND PHASE, on the other hand, introduces 2 mechanics you need to keep an eye on. Pay attention to the top left of your screen or under your character’s feet. There will be 2 debuffs and 2 circles under the character: Don’t forget to pick a reward from the Ritual itself once you’re done. Go to the Tower and pick up the reward for the quest. Run in a straight line until you find those berries. Use the Pounce ability to leap through them, there we’ll find UNA’S LUTE the Quest Item. Also not far from you, you could find the Crop Cyrcle for level 4 Gem. Once all is cleared, continue heading down to find the next zone. First, we need to find Renly’s Workshop for a Quest Item. It should not be too far from the entrance. Next, find The Executioner. After the boss fight, free the Leitis, open the portal to the town for submitting quests. Also, it’s a good time to check the Vendors for any weapon upgrades. Once everything is checked, head to THE MANOR RAMPANTS. This location is good to farm Exp if you’re short on levels. Better to farm level 12-13 here before moving on. Also here you could find a guaranteed SUPPORT GEM. There are no more key points here. Go straight to the OGHAM MANOR. Search for a Boss on the first floor; the reward of Permanent health is too good to pass up. Keep in mind that the location is built in a zig-zag type. Meaning if you find the Boss on the left side of the first floor, then the Finale Boss will be on the right side of the second floor. The final boss of Act 1 is a formidable foe. A fight with him will require good dodging, but it shouldn’t be that much of a problem if you UPGRADE YOUR WEAPON and LEVEL UP GEMS before fighting him. Though it could take a couple of tries to memorize his patterns. The Boss has two Phases, so try to manage your flasks. By the end of a fight, if you’re in a hurry, you could teleport to the tower without waiting for the dialogue to end. You will not receive the loot, but it will save time, as the dialogue is too long. Talk to Hooded one, watch or skip the cutscene and head to the next Act. This completes the first act of our PoE 2 campaign walkthrough. At this point, you could begin crafting your weapons if needed. Follow the instructions of your chosen build or use a link at the top of this PoE 2 campaign guide and we will help you with build progression. Don’t be scared of using currency on a good bases, the result could carry you right to the maps if you’re lucky enough. If your level is 14 at this moment, we recommend not wasting any time on mobs and heading straight to the boss. Hug the edges of the map to quickly locate the Boss arena. Also, you could find a SUPPORT GEM, but go for it ONLY if you really need one or if you find it on your way to the boss. Once you finish the boss, follow the quest line to the gates. This is generally a good location to grind levels for skill gems if needed. Not much to get here, find the elevator to Mines. No points of interest here, find and kill the boss, and release Risu from the cage. Speak with NPCs on the Caravan. Here we need to find the Boss for Balbala’s Barya, which will grant access to the Trial. Trials are needed to obtain Ascendancy for your class. To quickly find the Boss’s location, once you reach the DECREE OF IMPRISONMENT (book icon on the map), look at the walls. Walls with yellow talismans on them mean the Boss arena in that way. The next zone will be on the opposite side of the Boss. Simple, straightforward layout with no key points here. Once done, you could complete the Trial for Ascendancy. No key points here, head straight to THE BONE PITS. Farm xp if needed. Here we need a 2 things: If the boss doesn’t drop SUN CLAN RELIC, then farm the nearest mobs until you get one. Once everything is obtained, Teleport back to the Caravan. Two points of interest here as well. The first one will be KABALA CLAN RELIC, which you can obtain by farming Naga-type enemies. The second will be the Boss Naga for two Skill Points. If you didn’t manage to farm the KABALA CLAN RELIC, you can also obtain it here. No key points here though, straight to the next zone. Here we could obtain a couple of things before entering the boss fight. Ring of your choice, LESSER JEWELLER’S ORB from the League Mechanics and Support gem from the sarcophagus. Support gem could be found in the sarcophagus surrounded by many statues. Brace yourself, once you open the Sarcophagus, all of them will come to life. Rings will be found in the room with the OFFERING CHESTS. Depending on what you choose, the ring will have this type of resistance. Check your stats to choose the best one. Once everything is obtained, kill the boss, loot quest items and Teleport to the Caravan. Same strategy to find 3 needed Ancient Seals. Hug the edge of the map to quickly locate most of them. General tip: they are usually located in a triangular shape, depending on your entrances. For example: Also, in this location, you can put Relics we farmed earlier. Waypoint will be near in case you want to change the buff at some point. Once Everything is done, use the checkpoint to the middle part, the entrance will open once you near it. No key point there, speedrun to the Boss. There is a cheese spot under the boss’s right armpit. It saves from most attacks, and any class could use it. Once done, teleport to the Caravan and use the QUEST ITEM to open the next zone. No major key points here. If you find Checkpoints before the Quest item, take your time and try to find it before progressing further. We’ll skip mentioning the next locations since there are no key points. Just try to finish the boss and get at least level 26 by the end. Same as the previous zones, no key points. Try to have level 28 before the boss. If by the end of locations you find yourself slightly under, reset the zone. Use the checkpoint to Waypoint, hold CTRL + LMB (left-click) at the location and create a new instance. Once you level up, you can return to your previous instance to use Checkpoint on the boss. Once the Boss is killed, talk with The Hooded One and head to the next Act. Usually, at this Act, most builds switch to their main skills. Same as always, upgrade your weapon, level up skills and you should be good to go. Here we need to visit 3 points of interest. The first 2 are located in the middle of the swamp area, on opposite sides of each other. One is a Tree with a body where you obtain a ring. On the other side is a boss with a level 9 Gem. On the top side, the same concept applies; one side has an entrance and the other has LESSER JEWELLER’S ORB on the other. Here, we have one major key point and two minor ones. The Major is a Boss Monkey, which drops us TWO SKILL POINTS. The other 2 is a Camp with guaranteed RARE GLOVES and a vendor, and a guaranteed belt from the quest. You could skip it if your current gear is good enough. Just a quest location without any major key points. Have a room with a sarcophagus where you could find lvl 3 Support Gem, loot it if you find it while roaming. No major point here, this location is more like a crossroad. If you find a pit, you could clear it for a good amount of EXP. Both of these locations are just Boss fights with no Key points. If you manage to find a Camp, loot it, if not, don’t bother finding it. Chimera drops the Item CHIMERAL INSCRIBED ULTIMATUM for Second Ascendancy. The tip to help you locate SMALL SOUL CORE is to listen for loot filter sounds, they will tell you if you’re near one. Collect the total of 3. There we’ll need a total of 2 MEDIUM SOUL CORE, for both sides of the mechanism. Unfortunately, no tips here, pure grind. One thing though if you manage to find both of them on one side, DON’T use respawn at checkpoint, it will drop the Core from your inventory. Once done, don’t teleport to the ZIGURAT; use WAYPOINT to travel to the INFESTED BARRENS. THE MATLAN WATERWAYS is a straightforward location with nothing in it. Grab the checkpoint near the APEX OF FILTH, then turn back and locate THE MOLTEN VAULT. We’ll clear it before progressing further. Apex of Filth doesn’t have any interesting key points. Speedrun the Boss and head straight to the next zone. The layout is triangular; the staircase can be located at any corner. No key points here as well. After you kill the VIPER NNAPUATZI, usually turning right afterward will bring you to the next zone, but one out of 10 times it could be left. If you manage to loot the Heart from the mobs – good. If not, we’ll farm for it in the next zone. After you reach the checkpoint, go to the right. Locate the altar for the Heart before heading to the next zone. THE BLACK CHAMBERS has no key points. Locate the boss and move on to the next Act. Final act before INTERLUDE. At this step of the PoE 2 campaign guide, we’ll focus more on key points, skipping zones without it. We’ll visit this location first. You could find this Rare mob with a guaranteed ORB OF ALCHEMY not far from the Waypoint. Then head straight to the next zone. No key points here. Locate and kill the Boss. Teleport back to grab the Quest item, then return to the Waypoint. Kill the boss and move to the next zone. Use VOLTAXIC SPIRE if you find it on the way, it will grant you Movement speed. Find all the checkpoints and the Boss in this location, rewards are good from each of those key points. Before the Boss, you could find a checkpoint with 2 golems. You can obtain a ring of your choice, depending on which one of those golems you kill THE SECOND. Topaz(lightning) ring for Voltaic, Ruby(Fire) ring for Magma. Here, we skip everything and head straight to the next zone. But if you find yourself in need of lvl 4 Support gem, then find CRABSHEL CAVERN. Still we are skipping the Shark boss fight. Here you could find HUMMING PEARL and use it to obtain ALL RESISTANCE RARE AMULET if needed. But if your resistances are fine, then head straight to the Boss. These locations are simple corridors with no key points. Same as always, kill the Boss and move on. THE EYE OF HINEKORA has a few locations we might want to visit. One of those is a chest behind a waterfall, located after the second Trial. Also don’t forget to Pay Your Respect to increase the maximum mana, before heading to the next zone. HALLS OF THE DEAD is a straightforward corridor zone with nice buffs to Resistances, but not much else. After a warm welcome head further. Don’t skip the two bells, one with Exalted Orbs and one with Regals Orbs. They are not far apart. THE EXCAVATION has no key points, just speedrun to the Boss. The last island of Act 4 is not welcoming us with anything worth mentioning, speedrun to the Boss and finishing the Act. Not much to say here, we’ll just focus on the zones where rewards are worth looking at. Here you can follow the trail straight to the Boss arena. Then head straight to the SKULLMAW STAIRWAYPOOLS OF KHATALAN. POOLS OF KHATALAN have no key point and are just a link zone with SEL KHARI SANCTUARY. Here, we need to farm mobs for Yoon’s Barya, we’ll trade it for the Rare Amulet of our choice. Here we have to find Boons for good passives before progressing. DON’T forget to talk with Jado after the boss fight. After killing the Boss, head to the STONES OF SERLE first, before progressing. Vendor with Great Runes located after the breach. Try to buy everything if you have enough gold. Then Head to the WOLVENHOLD before Holten Estate. Find the ANCIENT MONUMENT first before progressing. Hug the walls to find the HOWLING CAVES
Locate ELDER MADOX to try luck for headhunter or any other valuable unique before progressing further. The campaign might look overwhelming, but with this guide you’ll have a general understanding of what to look for and what to skip. The key to a smooth progression is still a good Starting Build, though. Find the skill you like, don’t forget to consistently upgrade your weapon and level up your skill. Follow the progression guide of your build and enjoy the Endgame. Act 4 bosses are notoriously difficult for new builds. If you’re struggling with the end-game progression, our PoE 2 Campaign Boost can handle the obstacles for you. Our booster will handle the entire campaign and ensure you collect every PoE 2 campaign reward. How many acts are in Path of Exile 2? Currently 4 Acts and an Interlude. How long is poe 2 campaign? For new players without a good plan, the campaign might take over 10 hours. Good time is around 8 hours. Speedrunners clear it in 4 hours. How much spirit from the campaign PoE 2 It is 100 spirit baseline as you complete the campaign. Is there a way to skip the campaign? There is no in-game tools to skip the campaign. If you don’t want to go through the campaign on your second or third character. How long does it take to complete the acts by using this PoE 2 campaign guide? Around 6-7 hours for casual players, or 4 hours if you will speedrun this. Is the PoE 2 fast campaign guide suitable for beginners? Yes this guide includes an explanation of basic mechanics, cheese spots and tells you exactly when to upgrade weapons, and recommends level thresholds per act. Beginners will finish in 6–7 hours instead of 10–12. Speedrunners using the same guide hit 4 hours.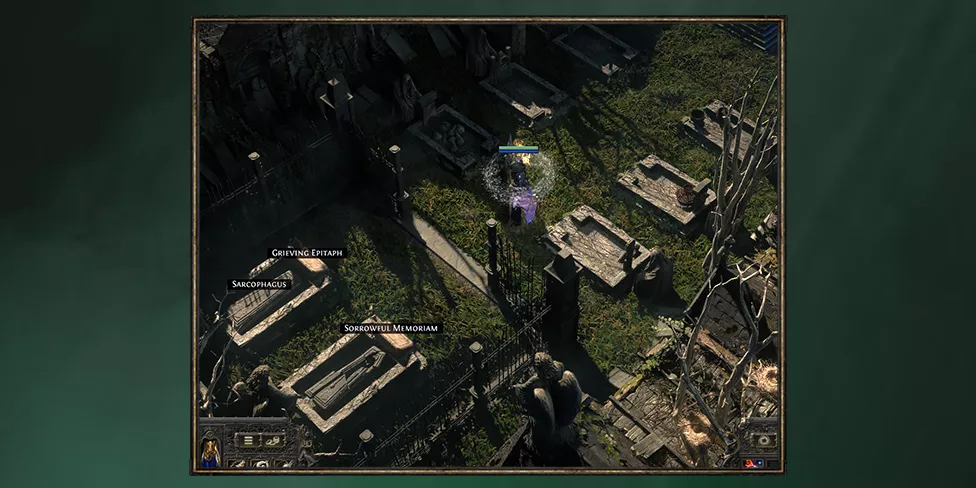
⭐ TOMB OF THE CONSORT
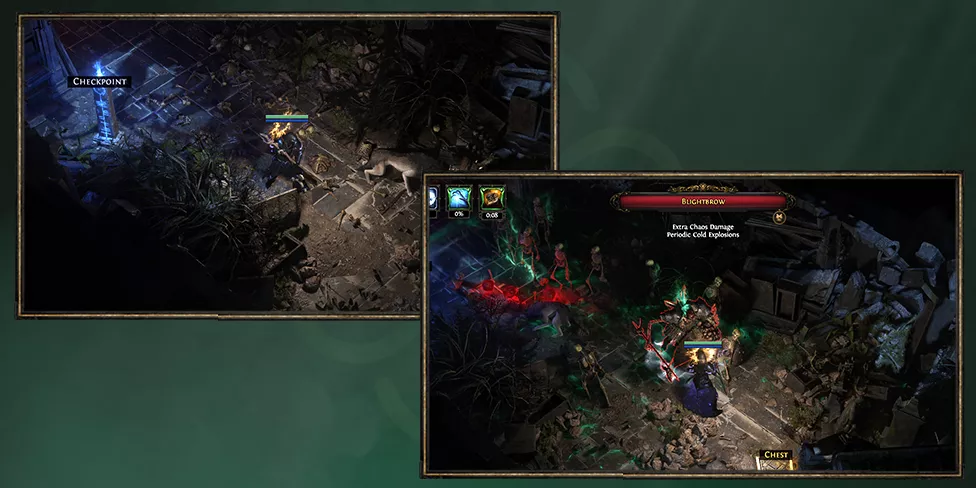
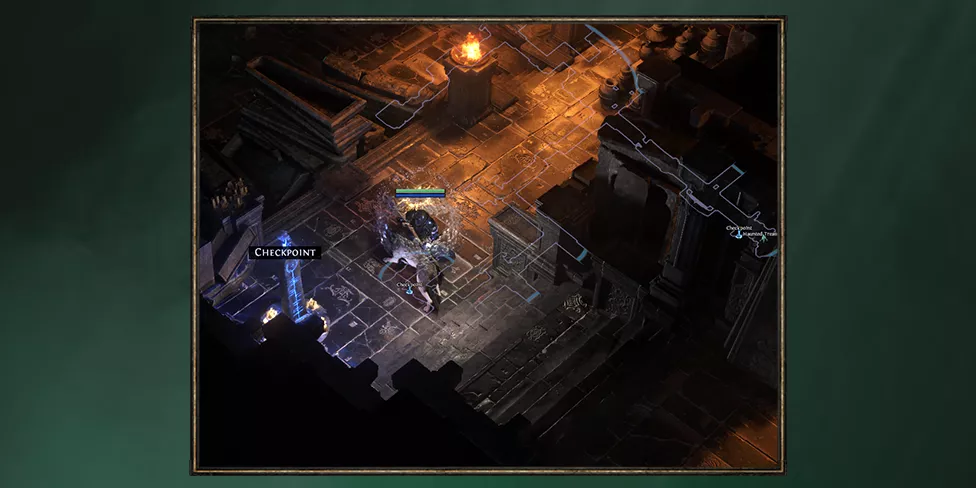
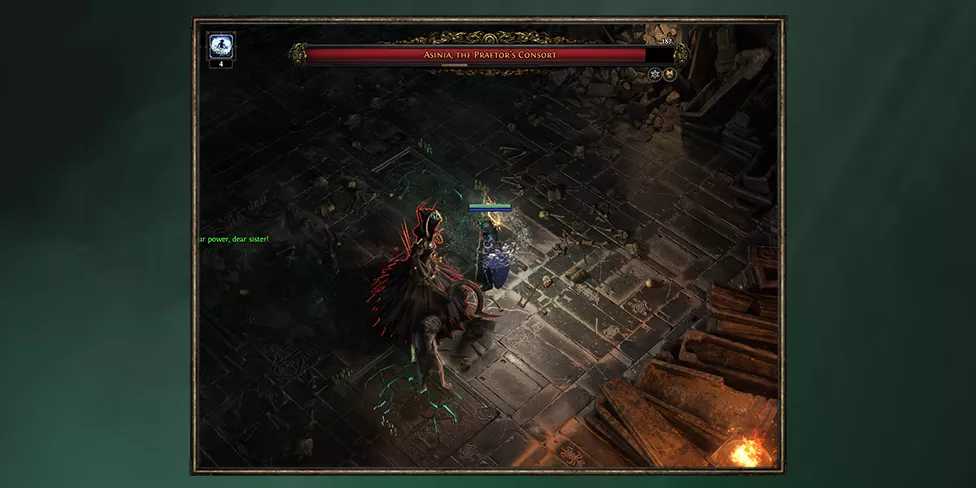
🍀 MAUSOLEUM OF THE PRAETOR
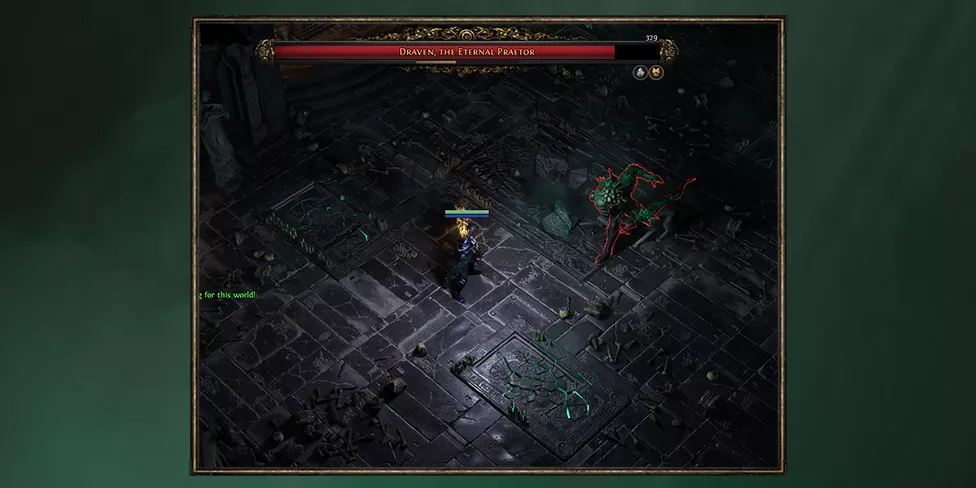
⭐ BACK TO CEMETERY OF THE ETERNALS
🍀 HUNTING GROUNDS
⭐ FREYTHORN
🍀 OGHAM FARMLANDS
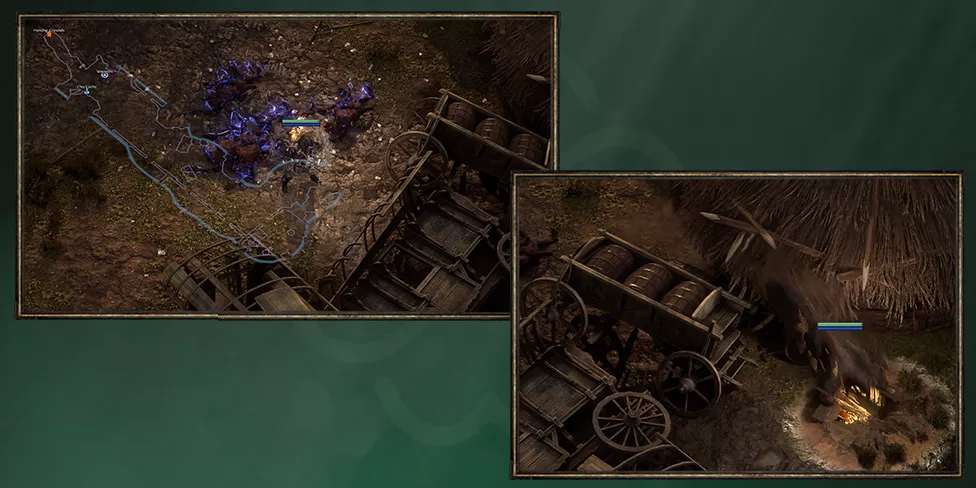
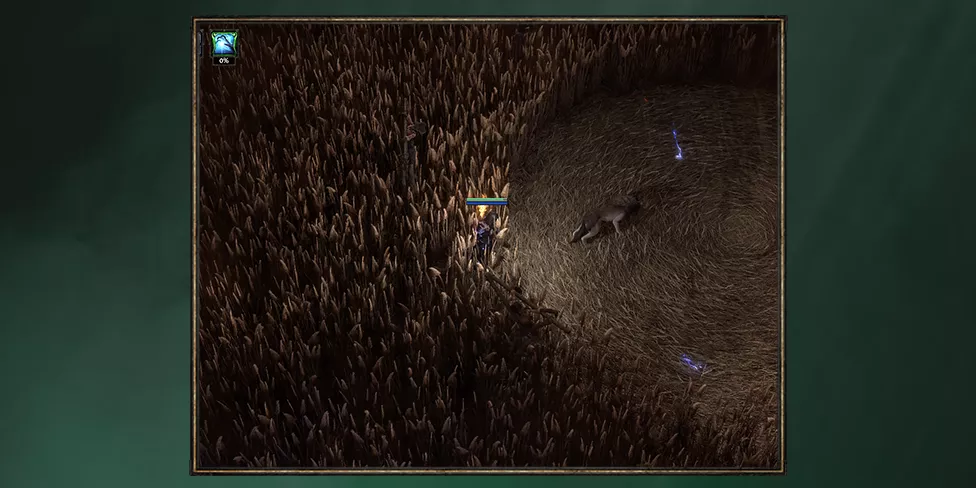
⭐ OGHAM VILLAGE
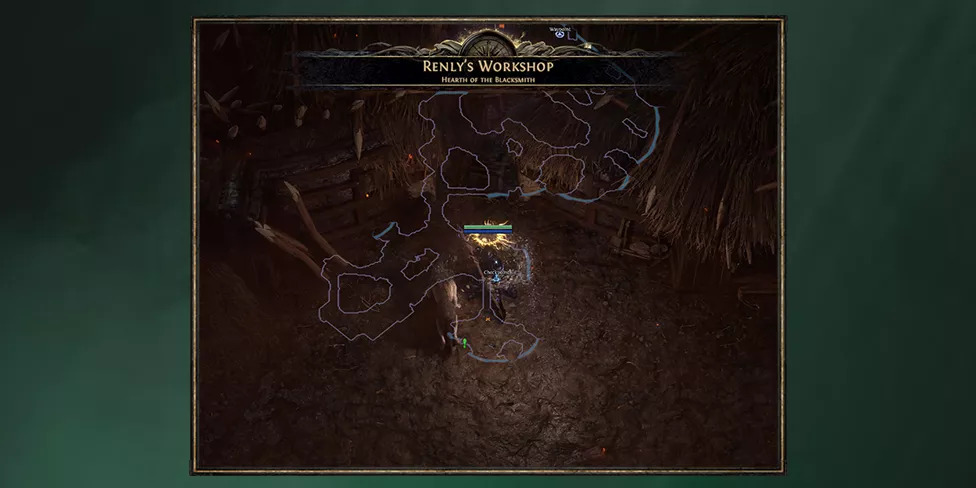
🍀 THE MANOR RAMPARTS
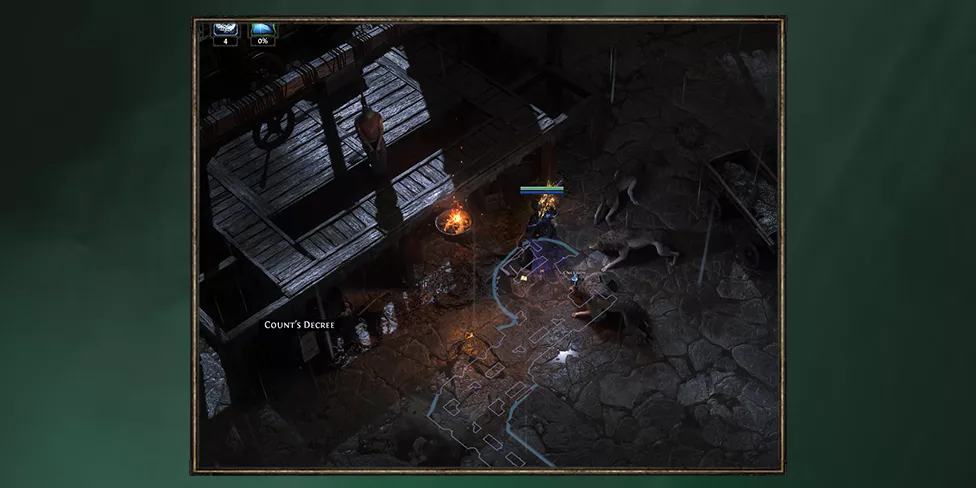
⭐ OGHAM MANOR
Act 2
🍀 VASTIRI OUTSKIRTS
⭐ MAWDUN QUARRY
🍀 MAWDUN MINE
⭐ TRAITOR’S PASSAGE
🍀 THE HALANI GATES
⭐ MASTODON BADLANDS
🍀 THE BONE PITS
⭐ KETH
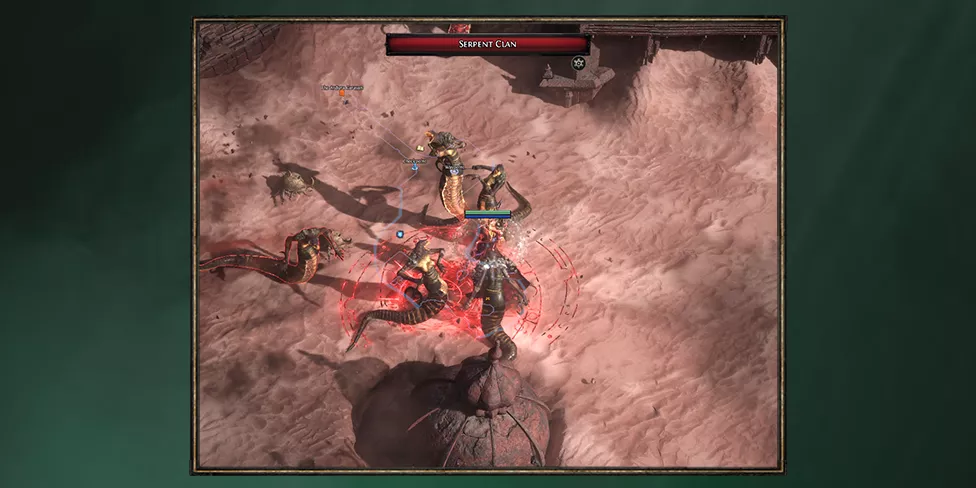
🍀 THE LOST CITY
⭐ BURIED SHRINES
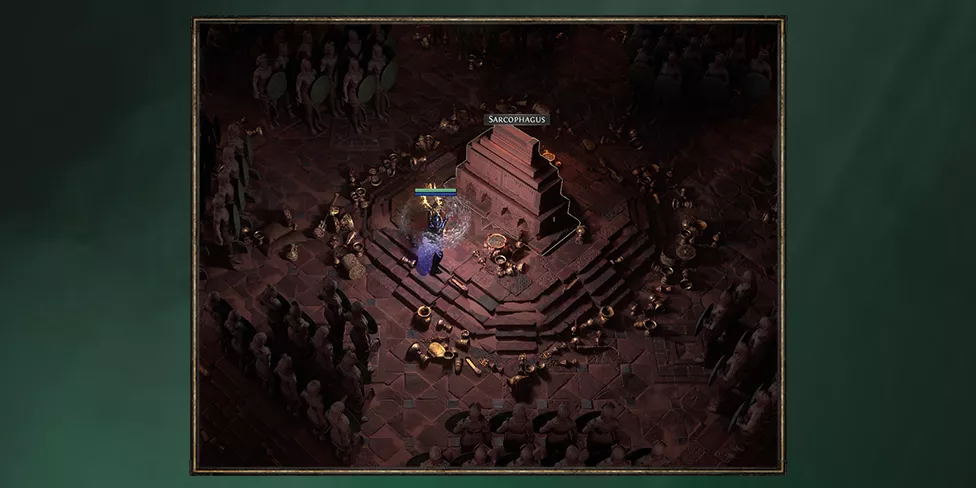
🍀 VALLEY OF THE TITANS
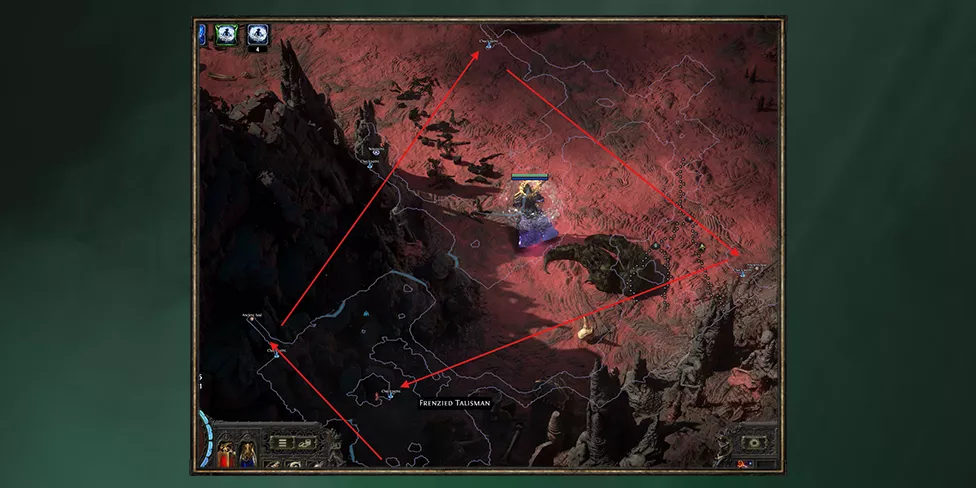
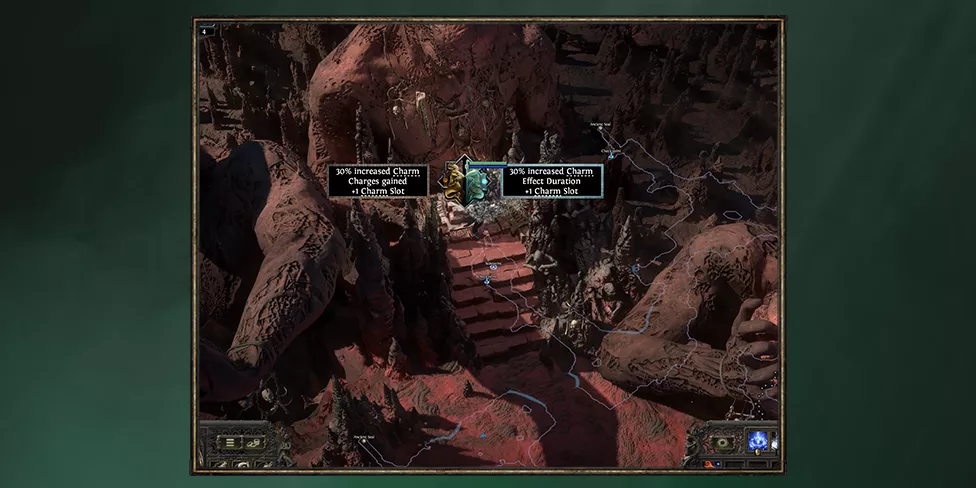
⭐ THE TITAN GROTTO
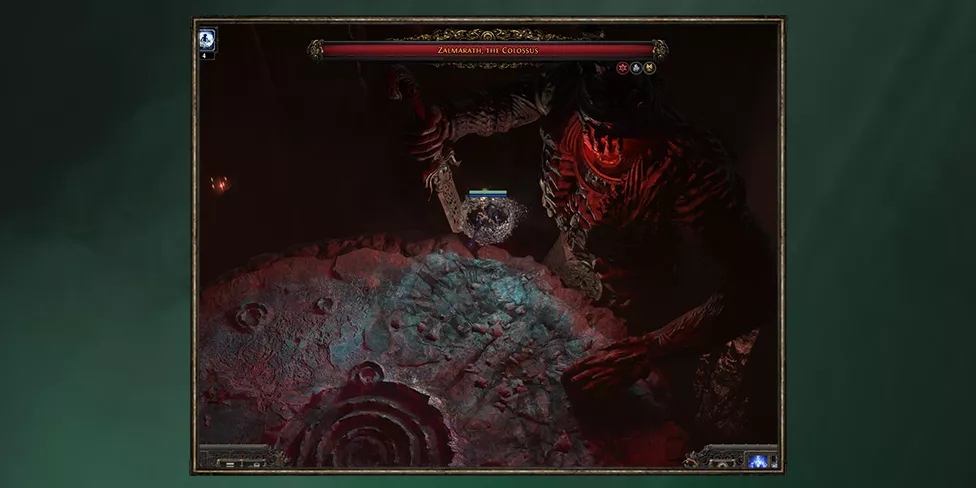
🍀 DESHAR
⭐ THE DREADNOUGHT
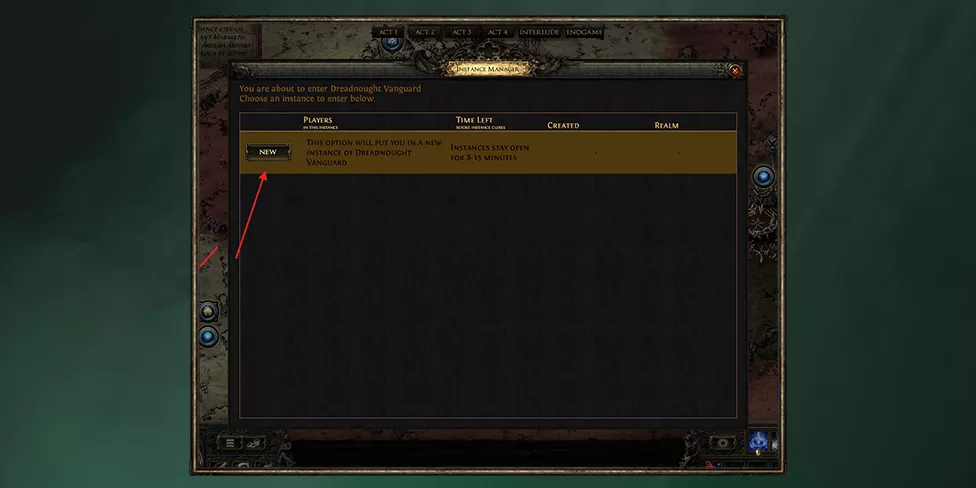
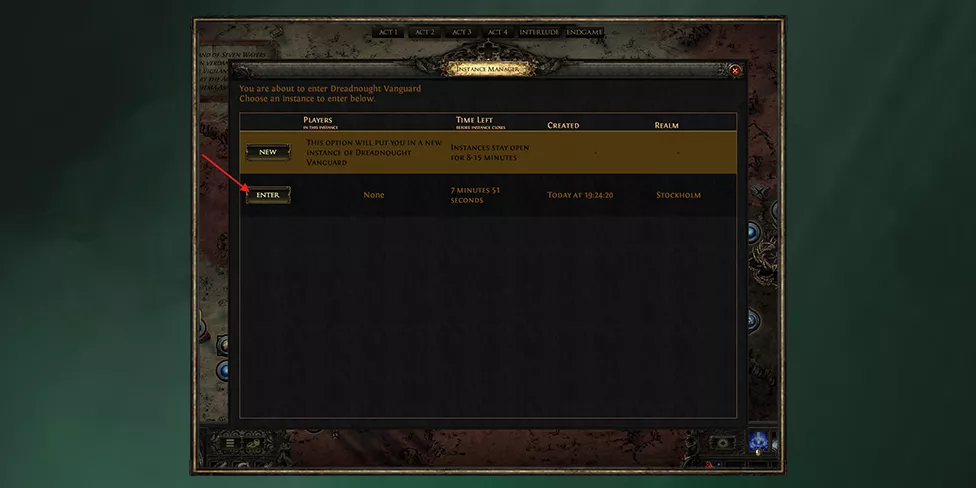
Act 3
🍀 SANDSWEPT MARSH
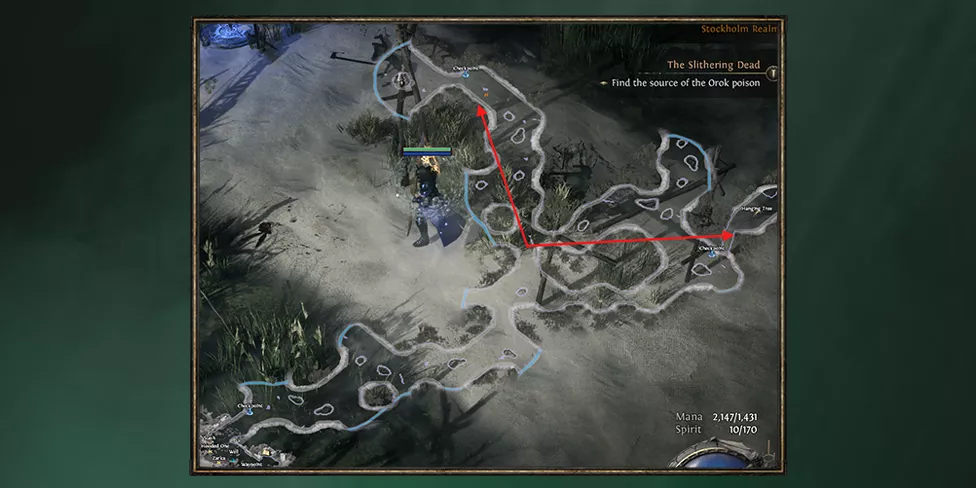
⭐ JUNGLE RUINS
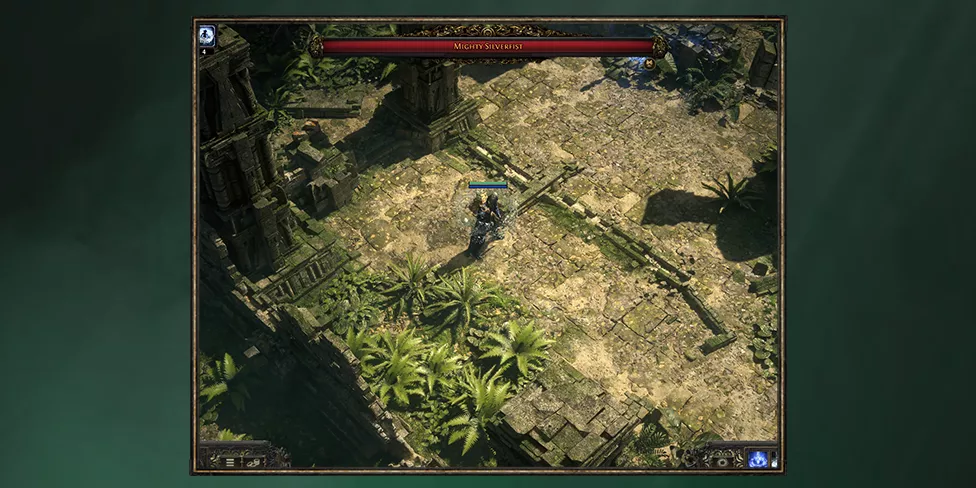
🍀 THE VENOM CRYPTS
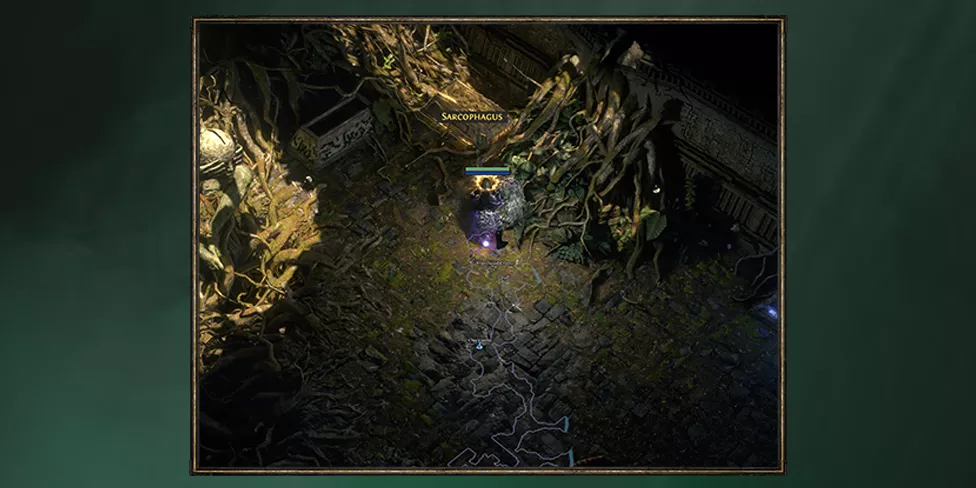
⭐ INFESTED BARRENS
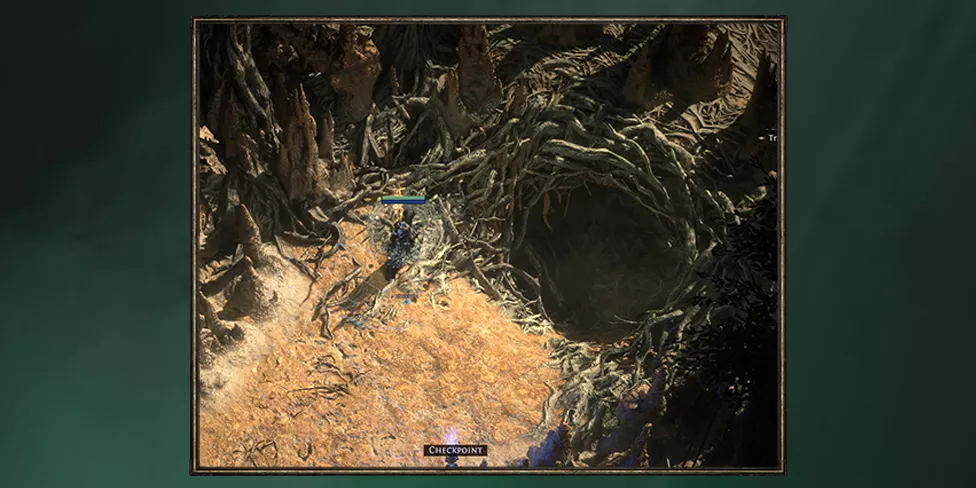
🍀 CHIMERAL WETLANDS AND THE AZAK BOG
⭐ JIQUANI’S MACHINARIUM
🍀 JIQUANI’S SANCTUM
⭐ THE DROWNED CITY
🍀 TEMPLE OF KOPEC
⭐ UTZAAL
🍀 AGGORAT
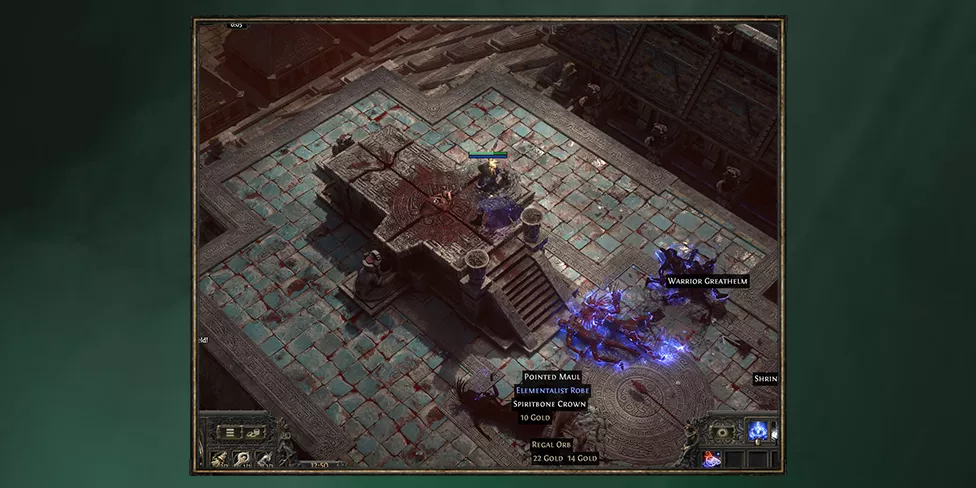
Act 4
⭐ KEDGE BAY
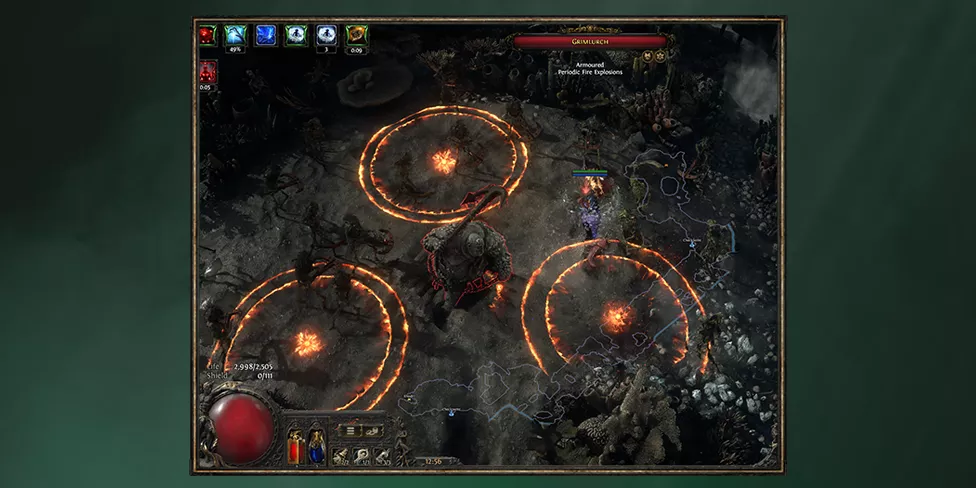
🍀 JOURNEY’S END
⭐ ISLE OF KIN
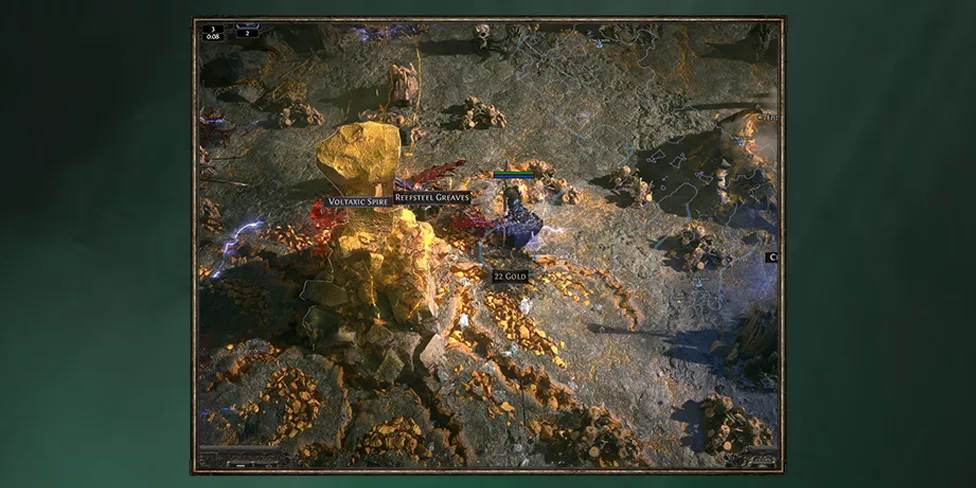
🍀 VOLCANIC WARRENS
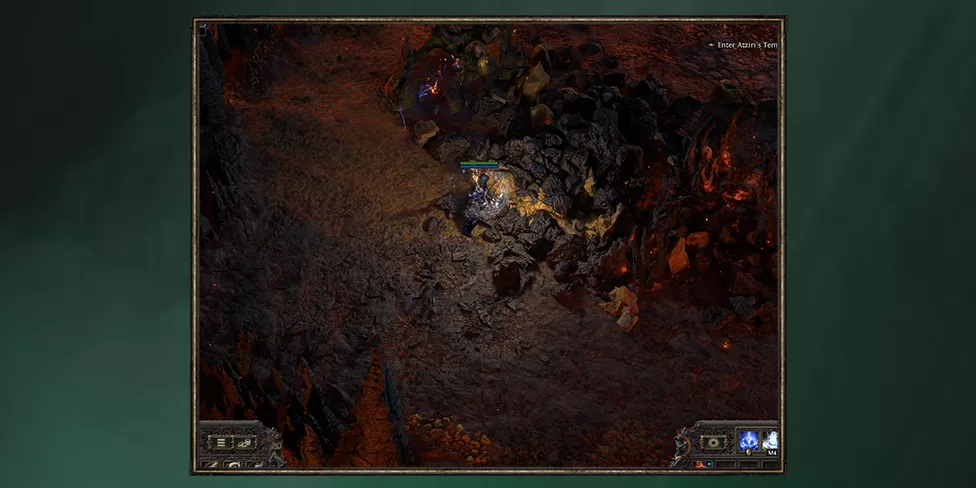
⭐ WHAKAPANU ISLAND
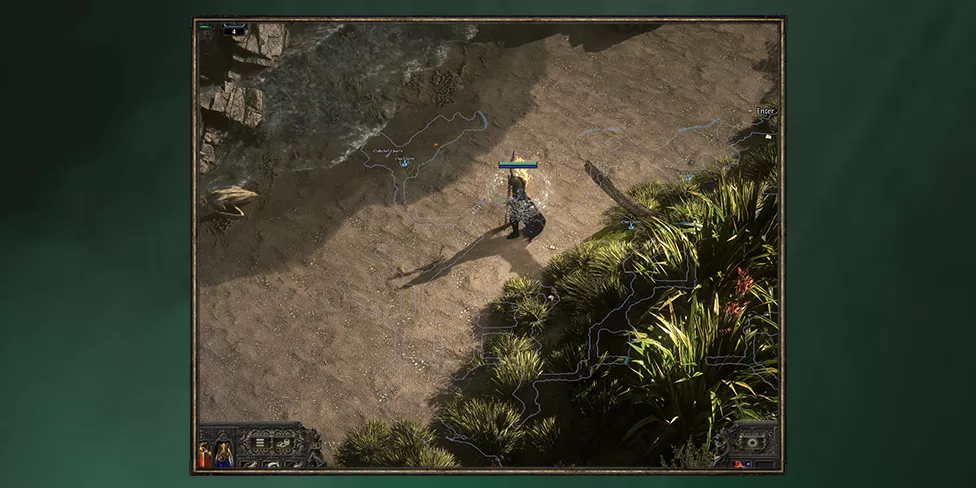
🍀 SINGING CAVERNS
⭐ ABANDONED PRISON, SOLITARY CONFINEMENT, SHRIKE ISLAND, EYE OF HINEKORA
🍀 ARASTAS
🍀 NAGAKANU
Interlude
⭐ THE KHARI CROSSING (MIDDLE)
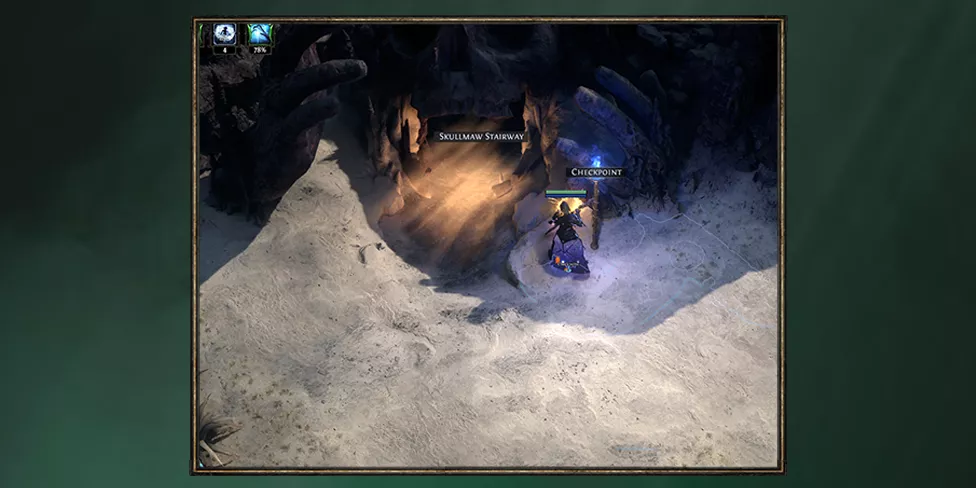
🍀 SEL KHARI SANCTUARY
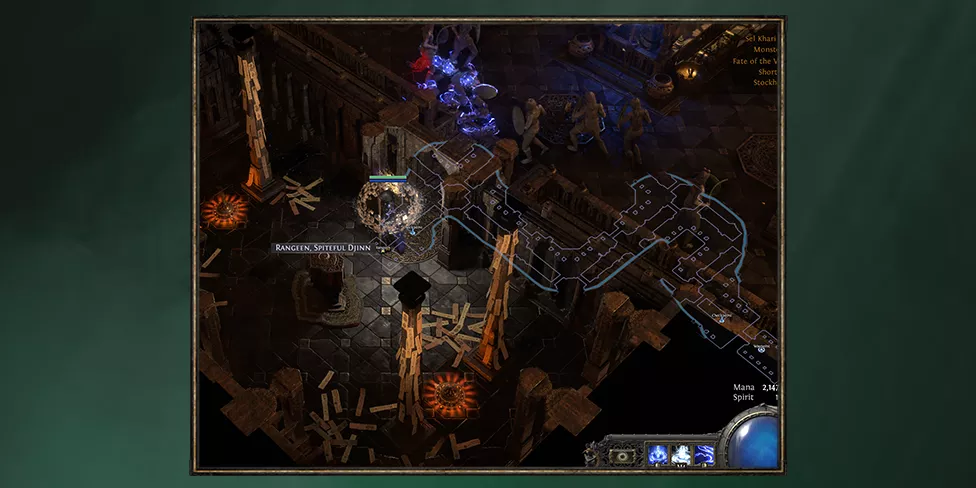
⭐ QIMAH
🍀 SCORCHED FARMLANDS
⭐ HOLTEN
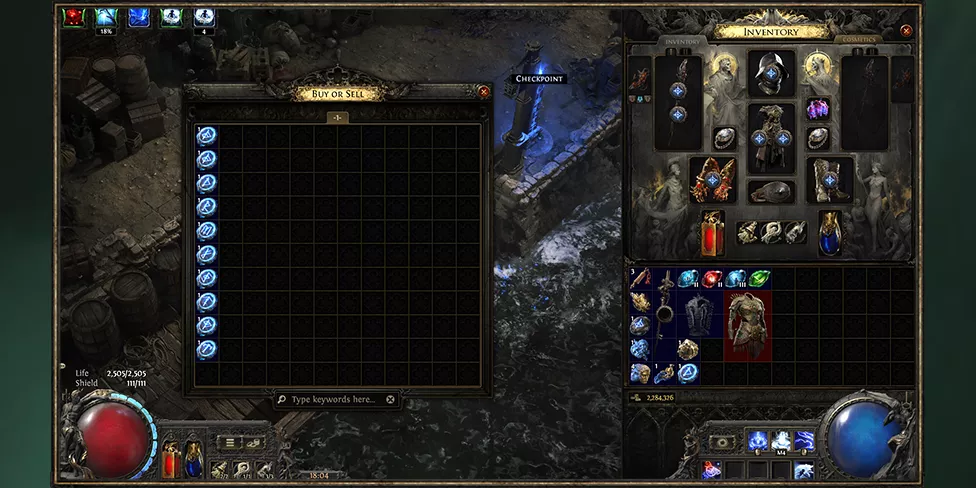
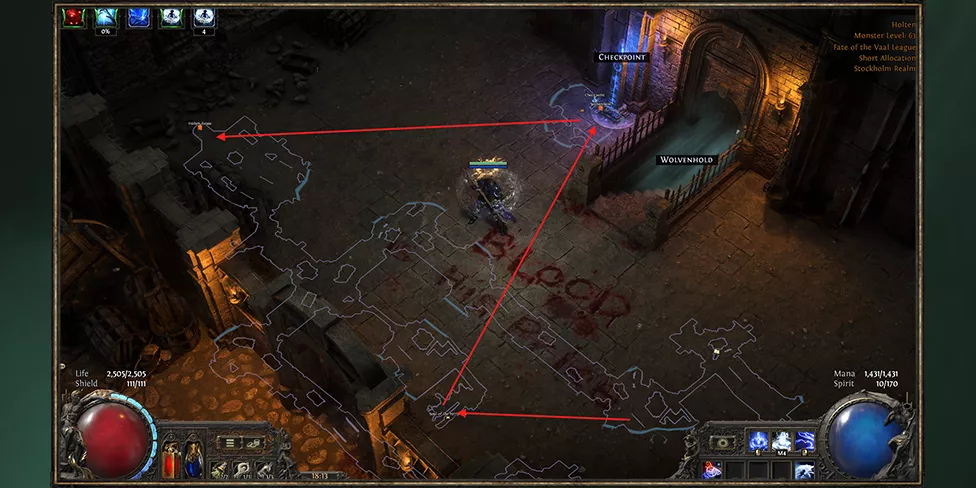
🍀 ASHEN FOREST
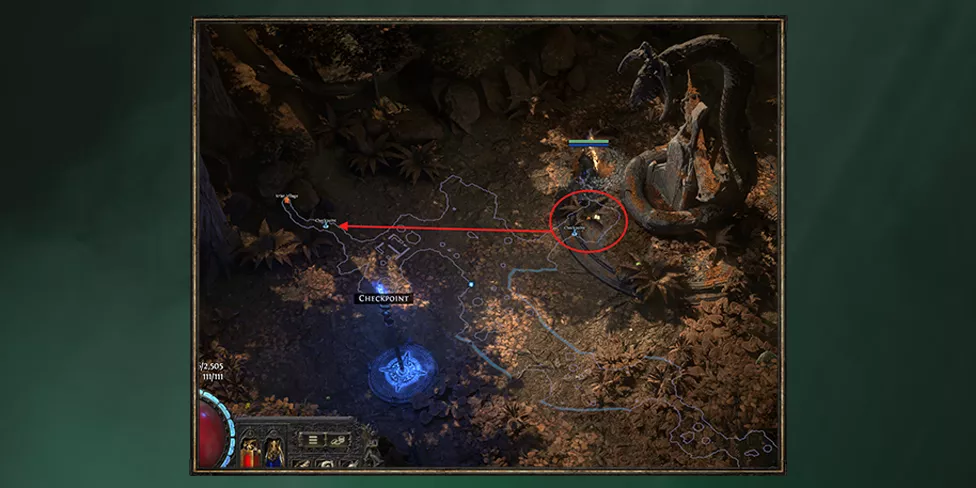
⭐ GLACIAL TARN
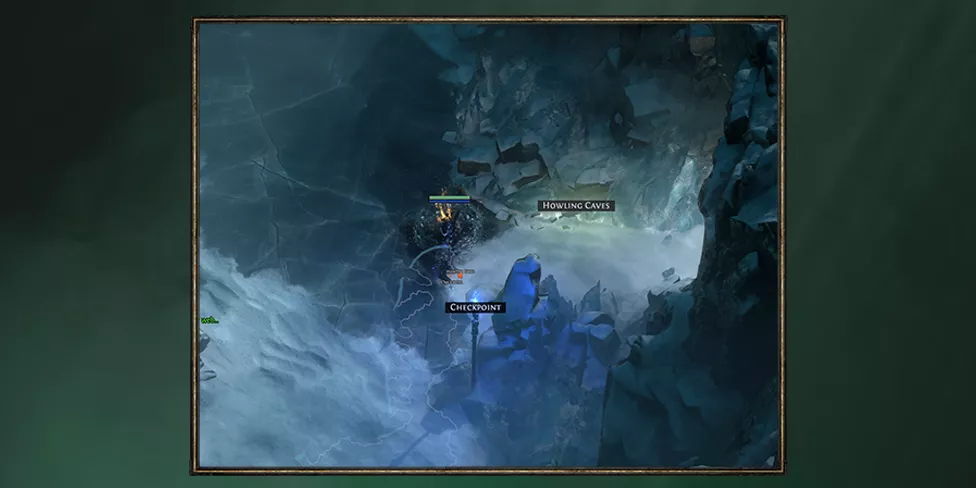
🍀 KRIAR PEAKS
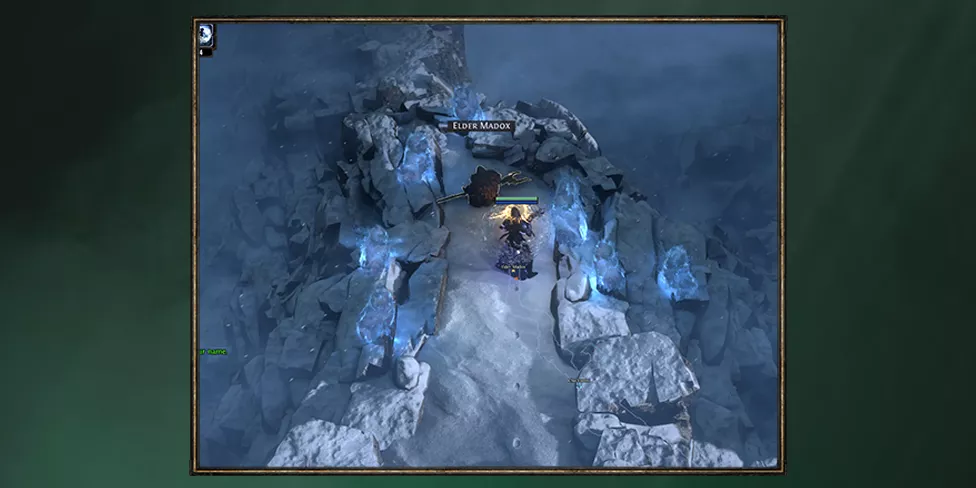
PoE 2 Campaign Rewards
⭐ ACT 1
Location
Reward
Clearfell: – Beira of the Rotten Pack Boss
+10% to Cold Resistance
Hunting Grounds: – Crowbell Boss
Book of Specialisation (+2 Passive Points)
Freythorn: – The King in the Mists Boss
+30 to Maximum Spirit
Freythorn: – The King in the Mists Boss
Uncut Spirit Gem (guaranteed on 1st kill)
Ogham Farmlands: Una’s Lute
Book of Specialisation (+2 Passive Points)
Ogham Village: Smithing Tools
Unlocks Salvage Bench
Ogham Manor: – Candlemas, the Living Rite Boss
+20 to Maximum Life
🍀 ACT 2
Location
Reward
Keth: – Kabala, Constrictor Queen Boss
Book of Specialisation (+2 Passive Points)
Valley of the Titans: Deliver Kabala & Sun Clan Relics
Choose one (swappable at altar):
• 30% increased Charm Charges gained, +1 Charm Slot
• 30% increased Charm Effect Duration, +1 Charm Slot
Deshar: Final Letter (deliver to Shambrin)
Book of Specialisation (+2 Passive Points)
The Spires of Deshar: Sisters of Garukhan Shrine
+10% to Lightning Resistance
⭐ ACT 3
Location
Reward
Sandswept Marsh: Orok Campfire (Basket)
Lesser Jeweller’s Orb (guaranteed drop)
Jungle Ruins: – Mighty Silverfirst Boss
Book of Specialisation (+2 Passive Points)
The Azak Bog: – Ignagduk, the Bog Witch Boss
+30 to Maximum Spirit
The Azak Bog: – Ignagduk, the Bog Witch Boss
Uncut Spirit Gem (guaranteed on 1st kill)
The Venom Crypts: Venom Vial (deliver to Servi)
Choose one (permanent choice, cannot be changed):
• 25% increased Stun Threshold
• 30% increased Elemental Ailment Threshold
• 25% increased Mana Regeneration Rate
Jiquani’s Machinarium: – Blackjaw, the Remnant Boss
+10% to Fire Resistance
The Molten Vault: – Mektul, the Forgemaster
Unlocks Reforging Bench (talk to Oswald)
Aggorat (or Utzaal): Sacrificial Heart (altar)
Book of Specialisation (+2 Passive Points)
🍀 ACT 4
Location
Reward
Journey’s End: – Omniphobia, Fear Manifest Boss (Dark Mists quest)
Book of Specialisation (+2 Passive Points)
Eye of Hinekora: Silent Hall (Pay Respects)
+5% to Maximum Mana
Halls of the Dead: Tawhoa’s Test (Trial)
Choose one (permanent): +5 Dexterity or +5% Lightning Resistance
Halls of the Dead: Tasalio’s Test (Trial)
Choose one (permanent): +5 Intelligence or +5% Cold Resistance
Halls of the Dead: Ngamahu’s Test (Trial)
Choose one (permanent): +5 Strength or +5% Fire Resistance
Trial of the Ancestors: – Yama the White Boss
Book of Specialisation (+2 Passive Points)
Abandoned Prison: Goddess of Justice
Choose one (swappable at any time):
• +30% increased Mana recovery from flasks
• +30% increased Life recovery from flasks
Whakapanu Island: – The Great White One (optional)
Shark Fin → trade with Kaimana for choice of Uncut Skill, Spirit, or Support Gem
Conclusion
F.A.Q.